
How to record an expense in Keepr
A step-by-step walkthrough for logging your first business cost in Keepr, with tips on tax, receipts and recurring expenses.
To record an expense in Keepr, click + Add new... in the sidebar, pick New Expense, then fill in the four required fields: Title, Category, Amount and Date. Drop a photo of the receipt onto the side panel if you have one, then hit Save. The whole thing takes about a minute.
Before you start
An expense in Keepr is anything you spend running your business - a train fare, a software subscription, a pack of printer paper. Only log business spending here. Personal costs should stay out of your books. If you're not sure what counts, HMRC has a plain-English list.
Open the Add Expense form
- In the sidebar, click the + Add new... button to reveal the quick-add menu.
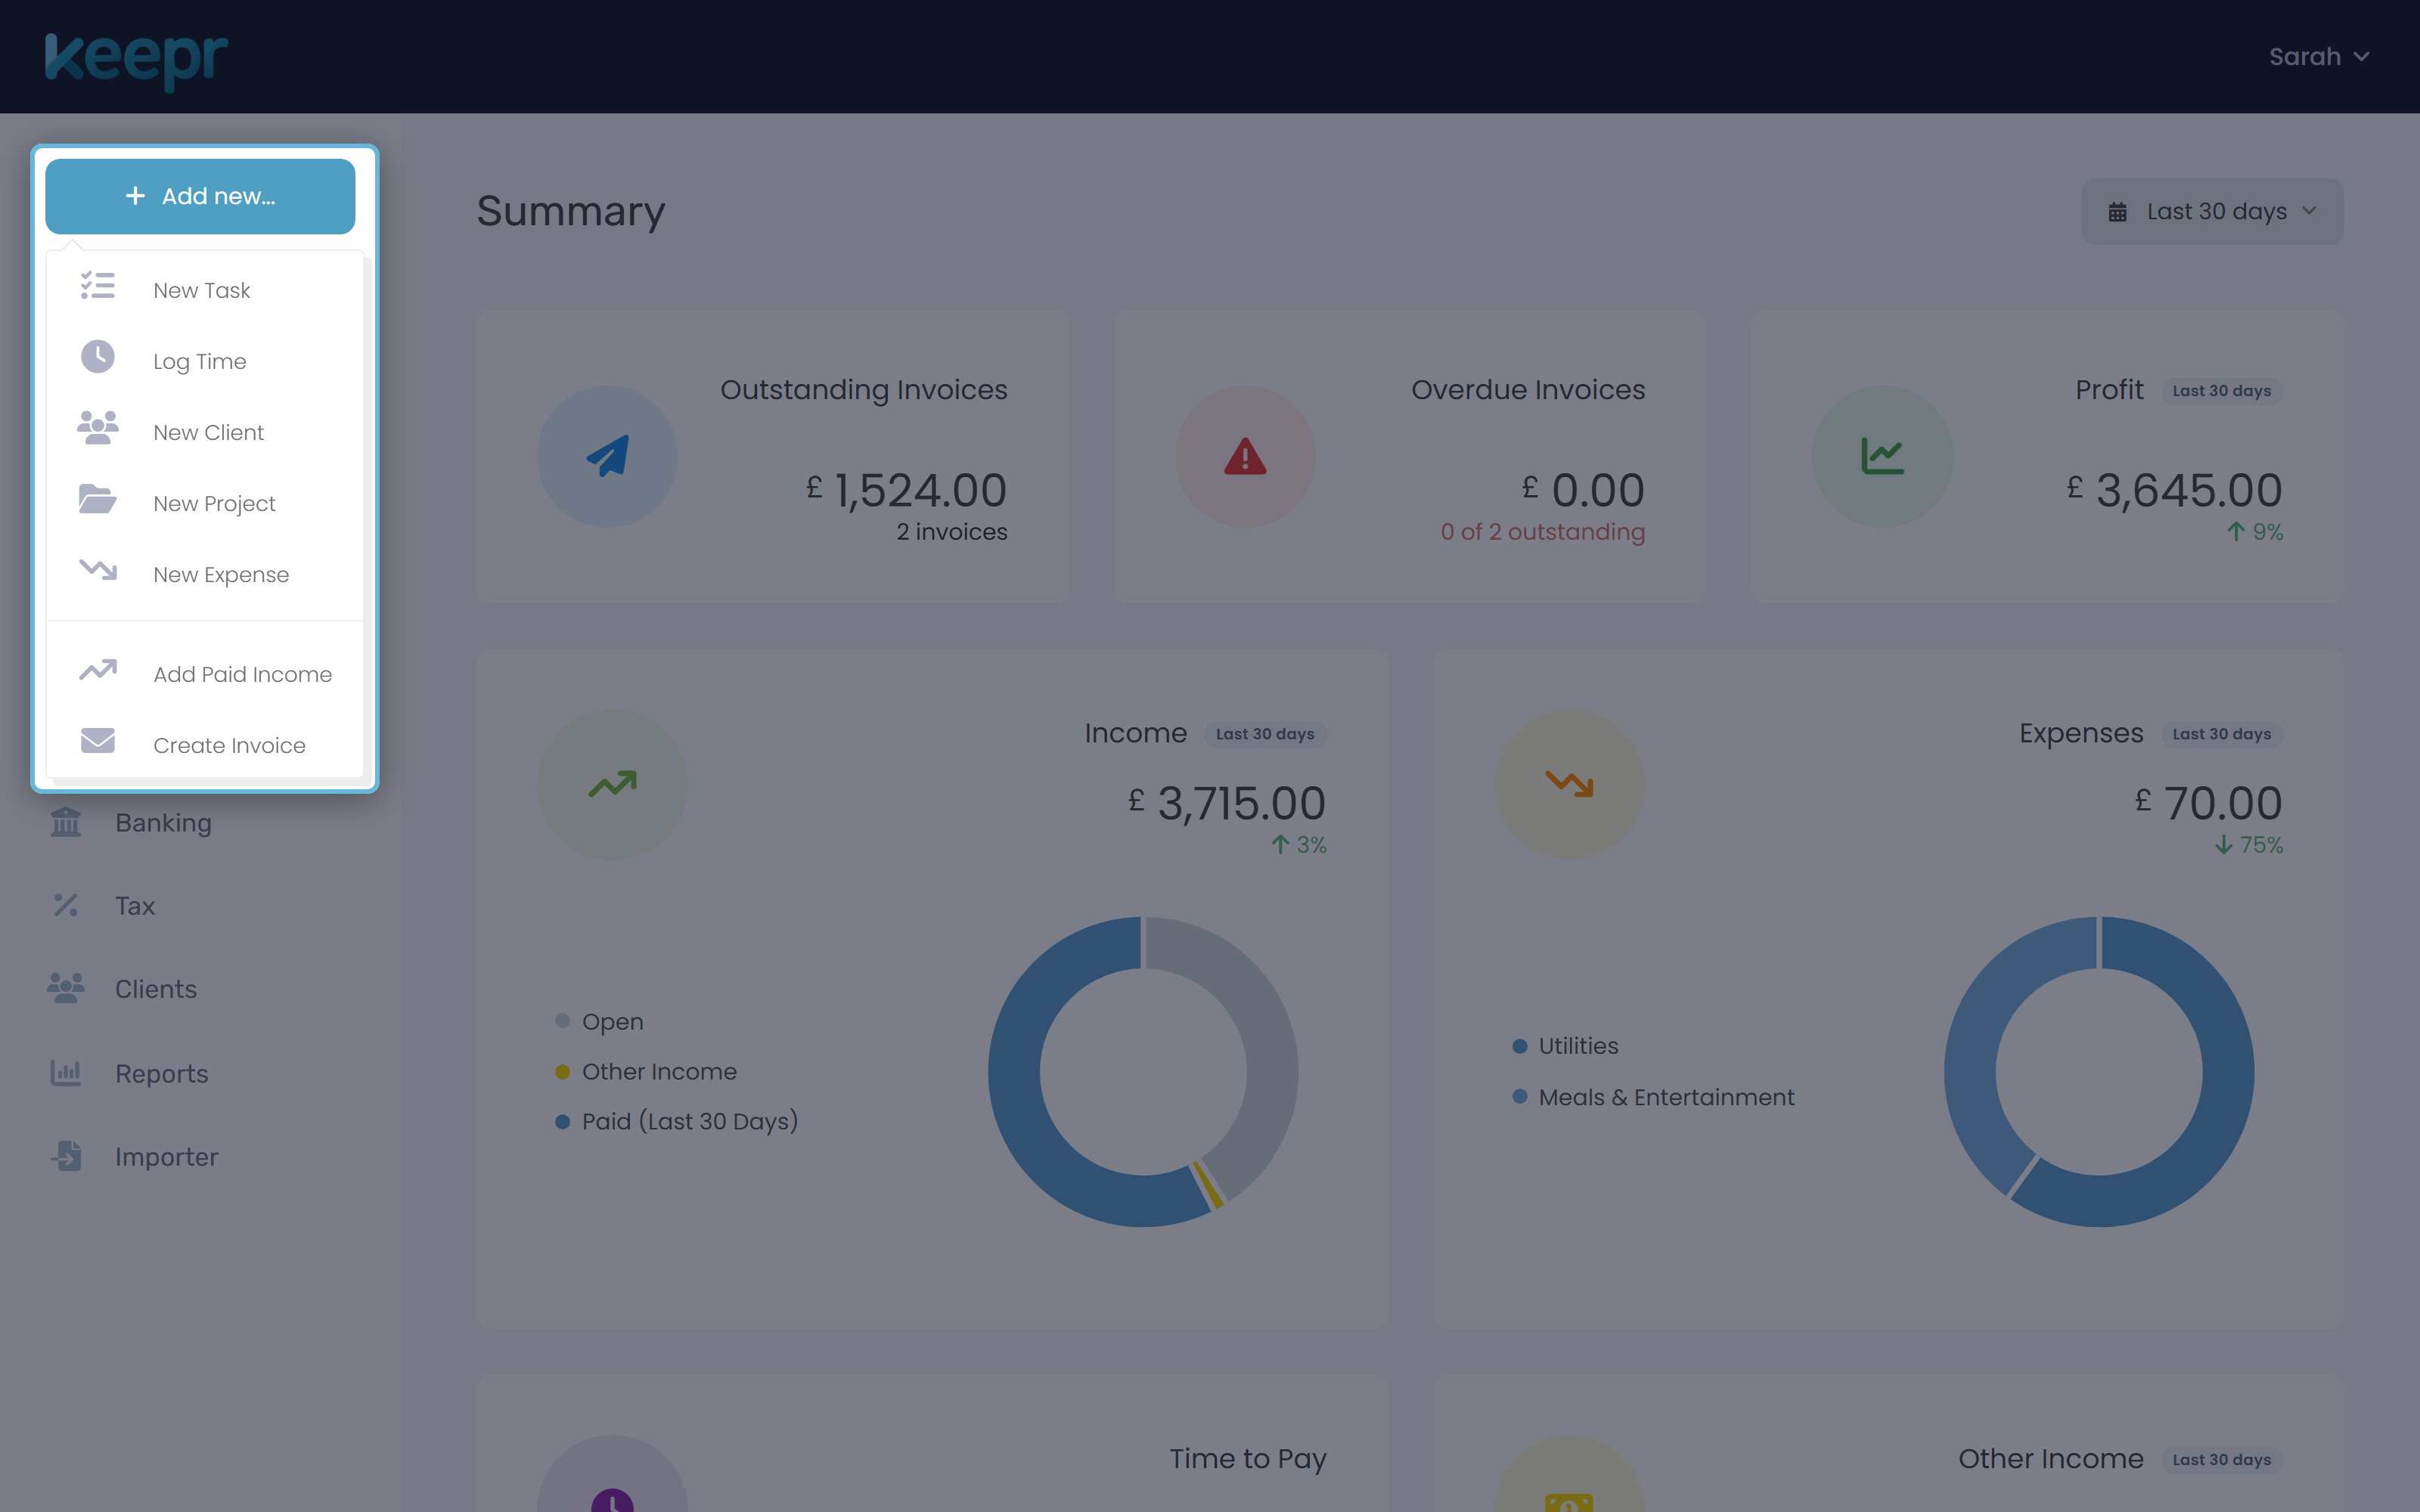
- Choose New Expense from the dropdown. Keepr takes you to the Add Expense page.
Fill in the required fields
Four fields in the Expense Details section are marked with a red asterisk. Keepr won't let you save without them.
- Type a short description into Title - for example Train to London, Office supplies or Hotel night.
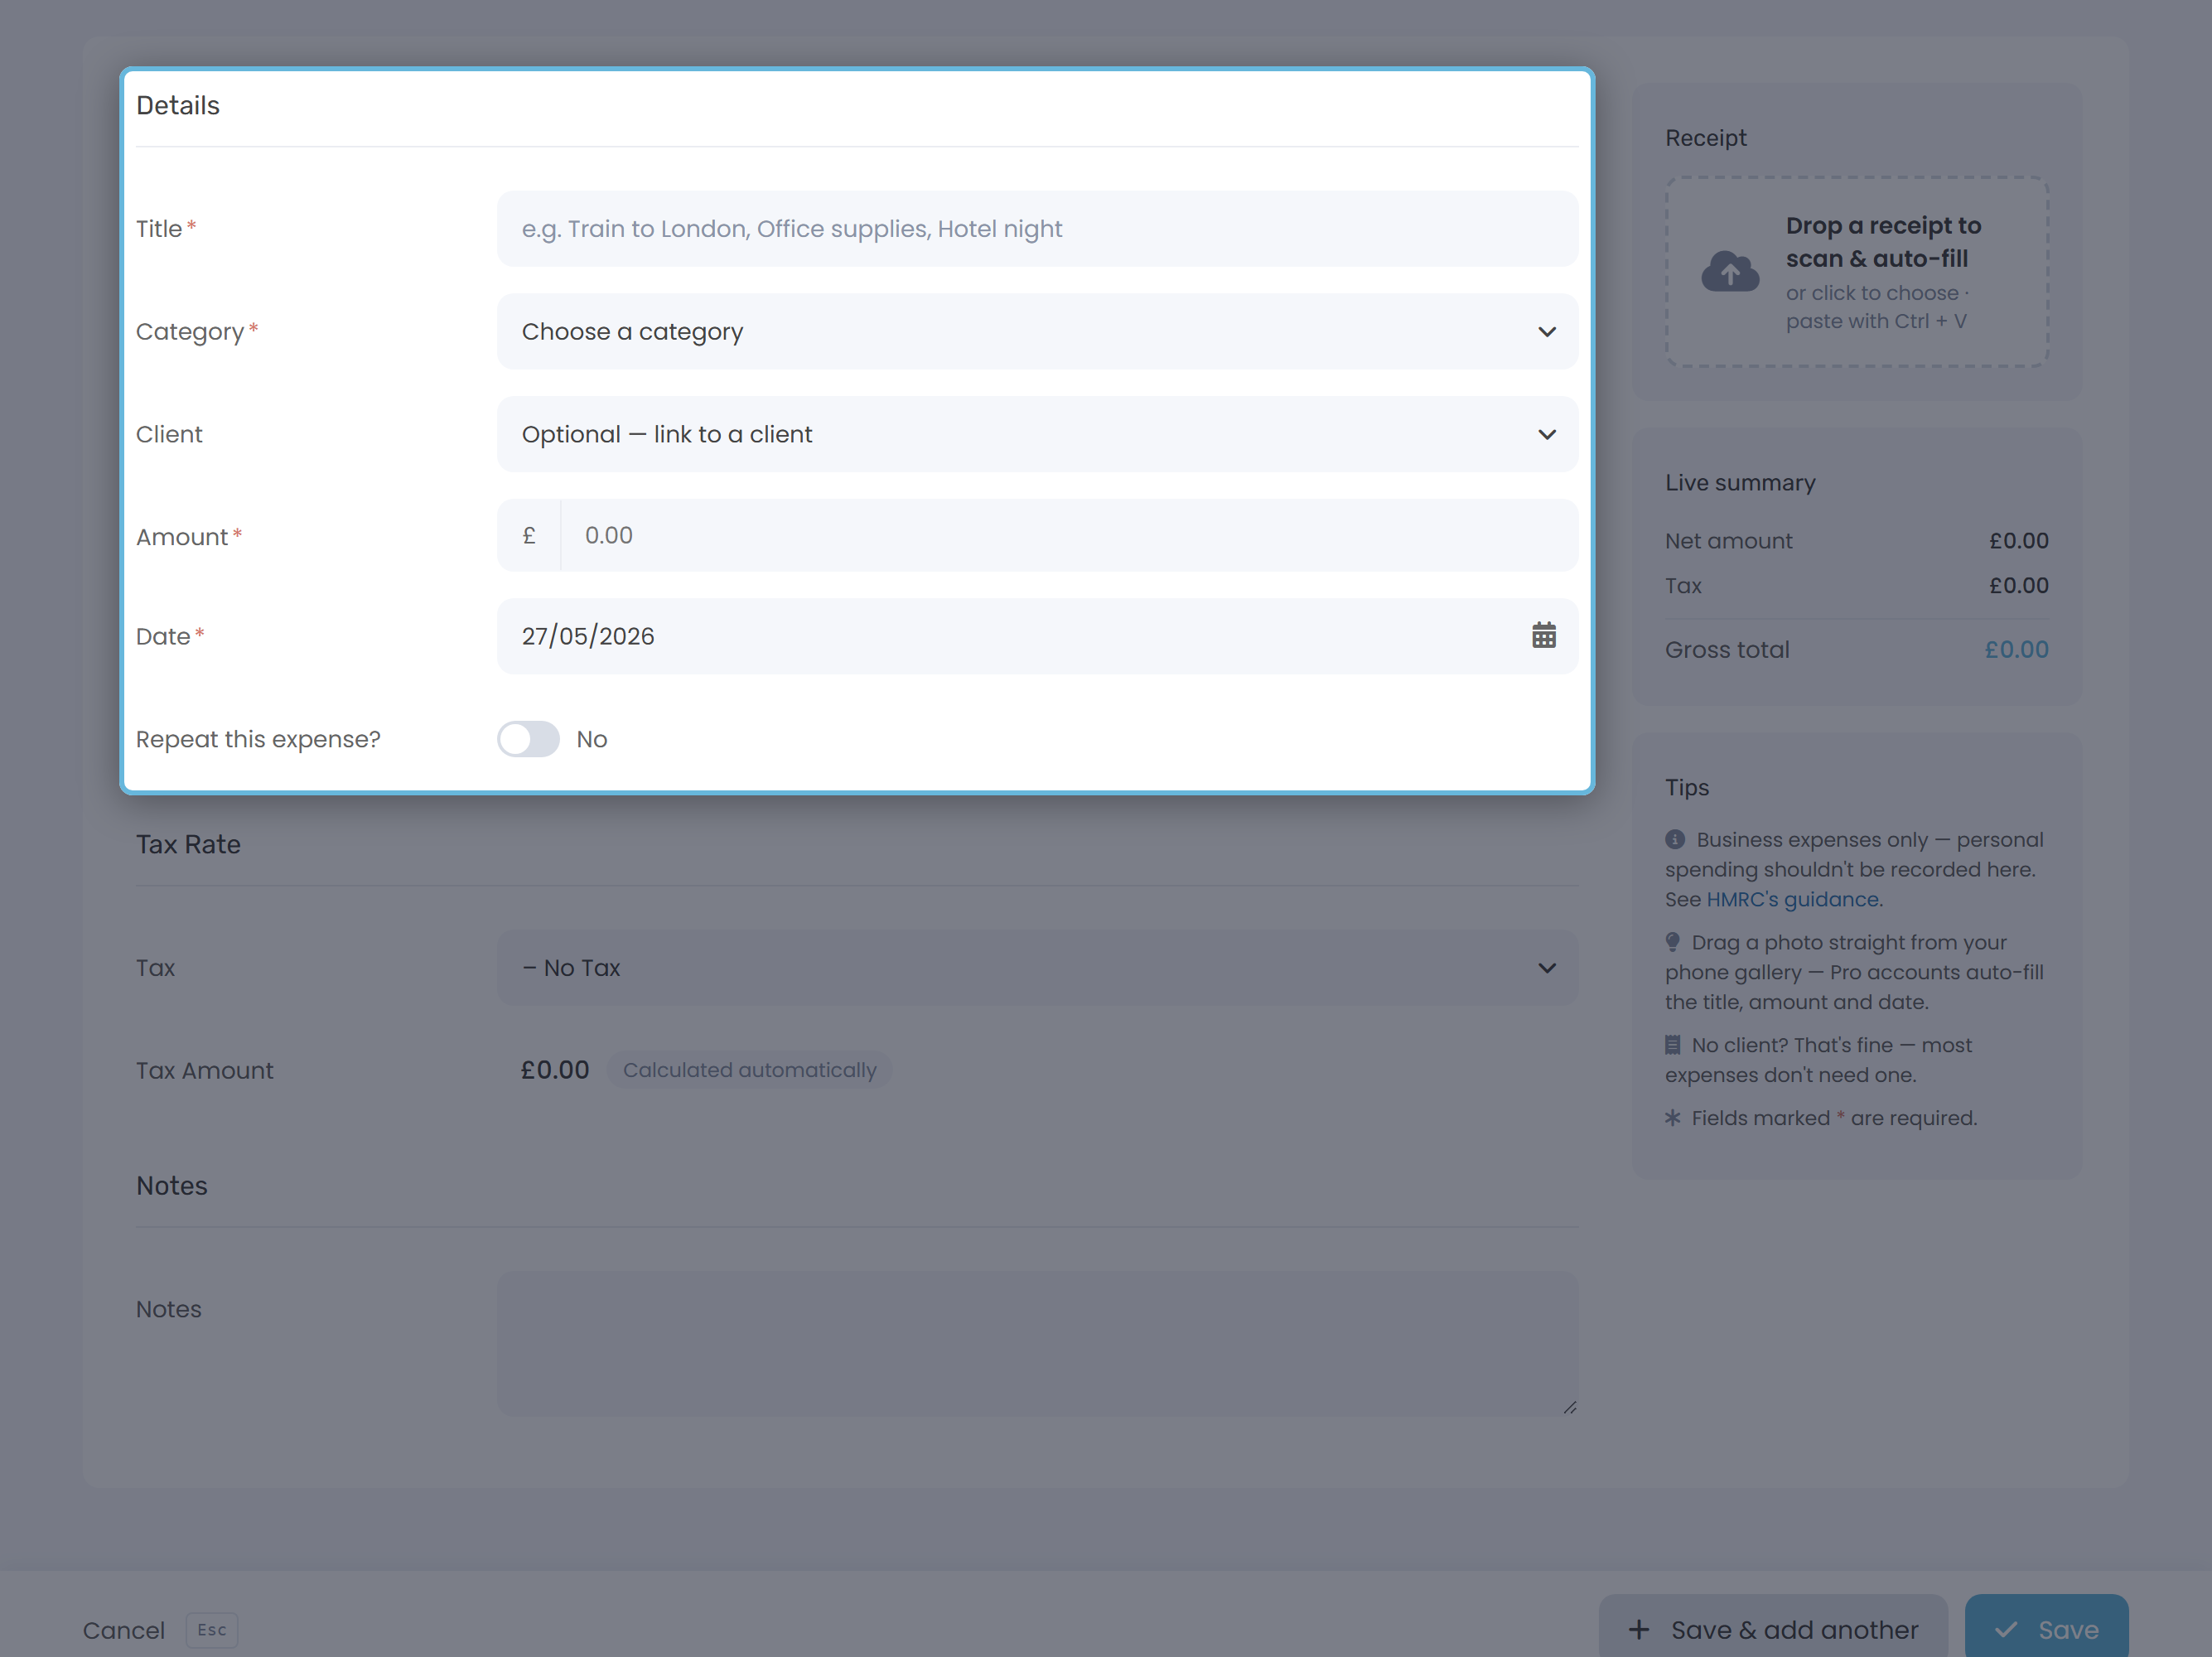
- Pick a Category from the dropdown. Keepr seeds your account with categories like Travel, Office Expenses, Utilities and Vehicle when you sign up.
- Enter the Amount. This is the net figure - what you paid before any tax. Keepr adds the tax on top.
- Set the Date you paid. It defaults to today, in dd/mm/yyyy format.
Link a client (optional)
If the expense was for a specific client - say, a courier you paid to deliver their job - pick them from the Client dropdown. Most expenses don't need this. Leave it blank if there's no client involved.
Add the tax
- Open the Tax Rate section and pick a rate from the Tax dropdown. The list shows the rates you've set up in Keepr (for example VAT - 20%).
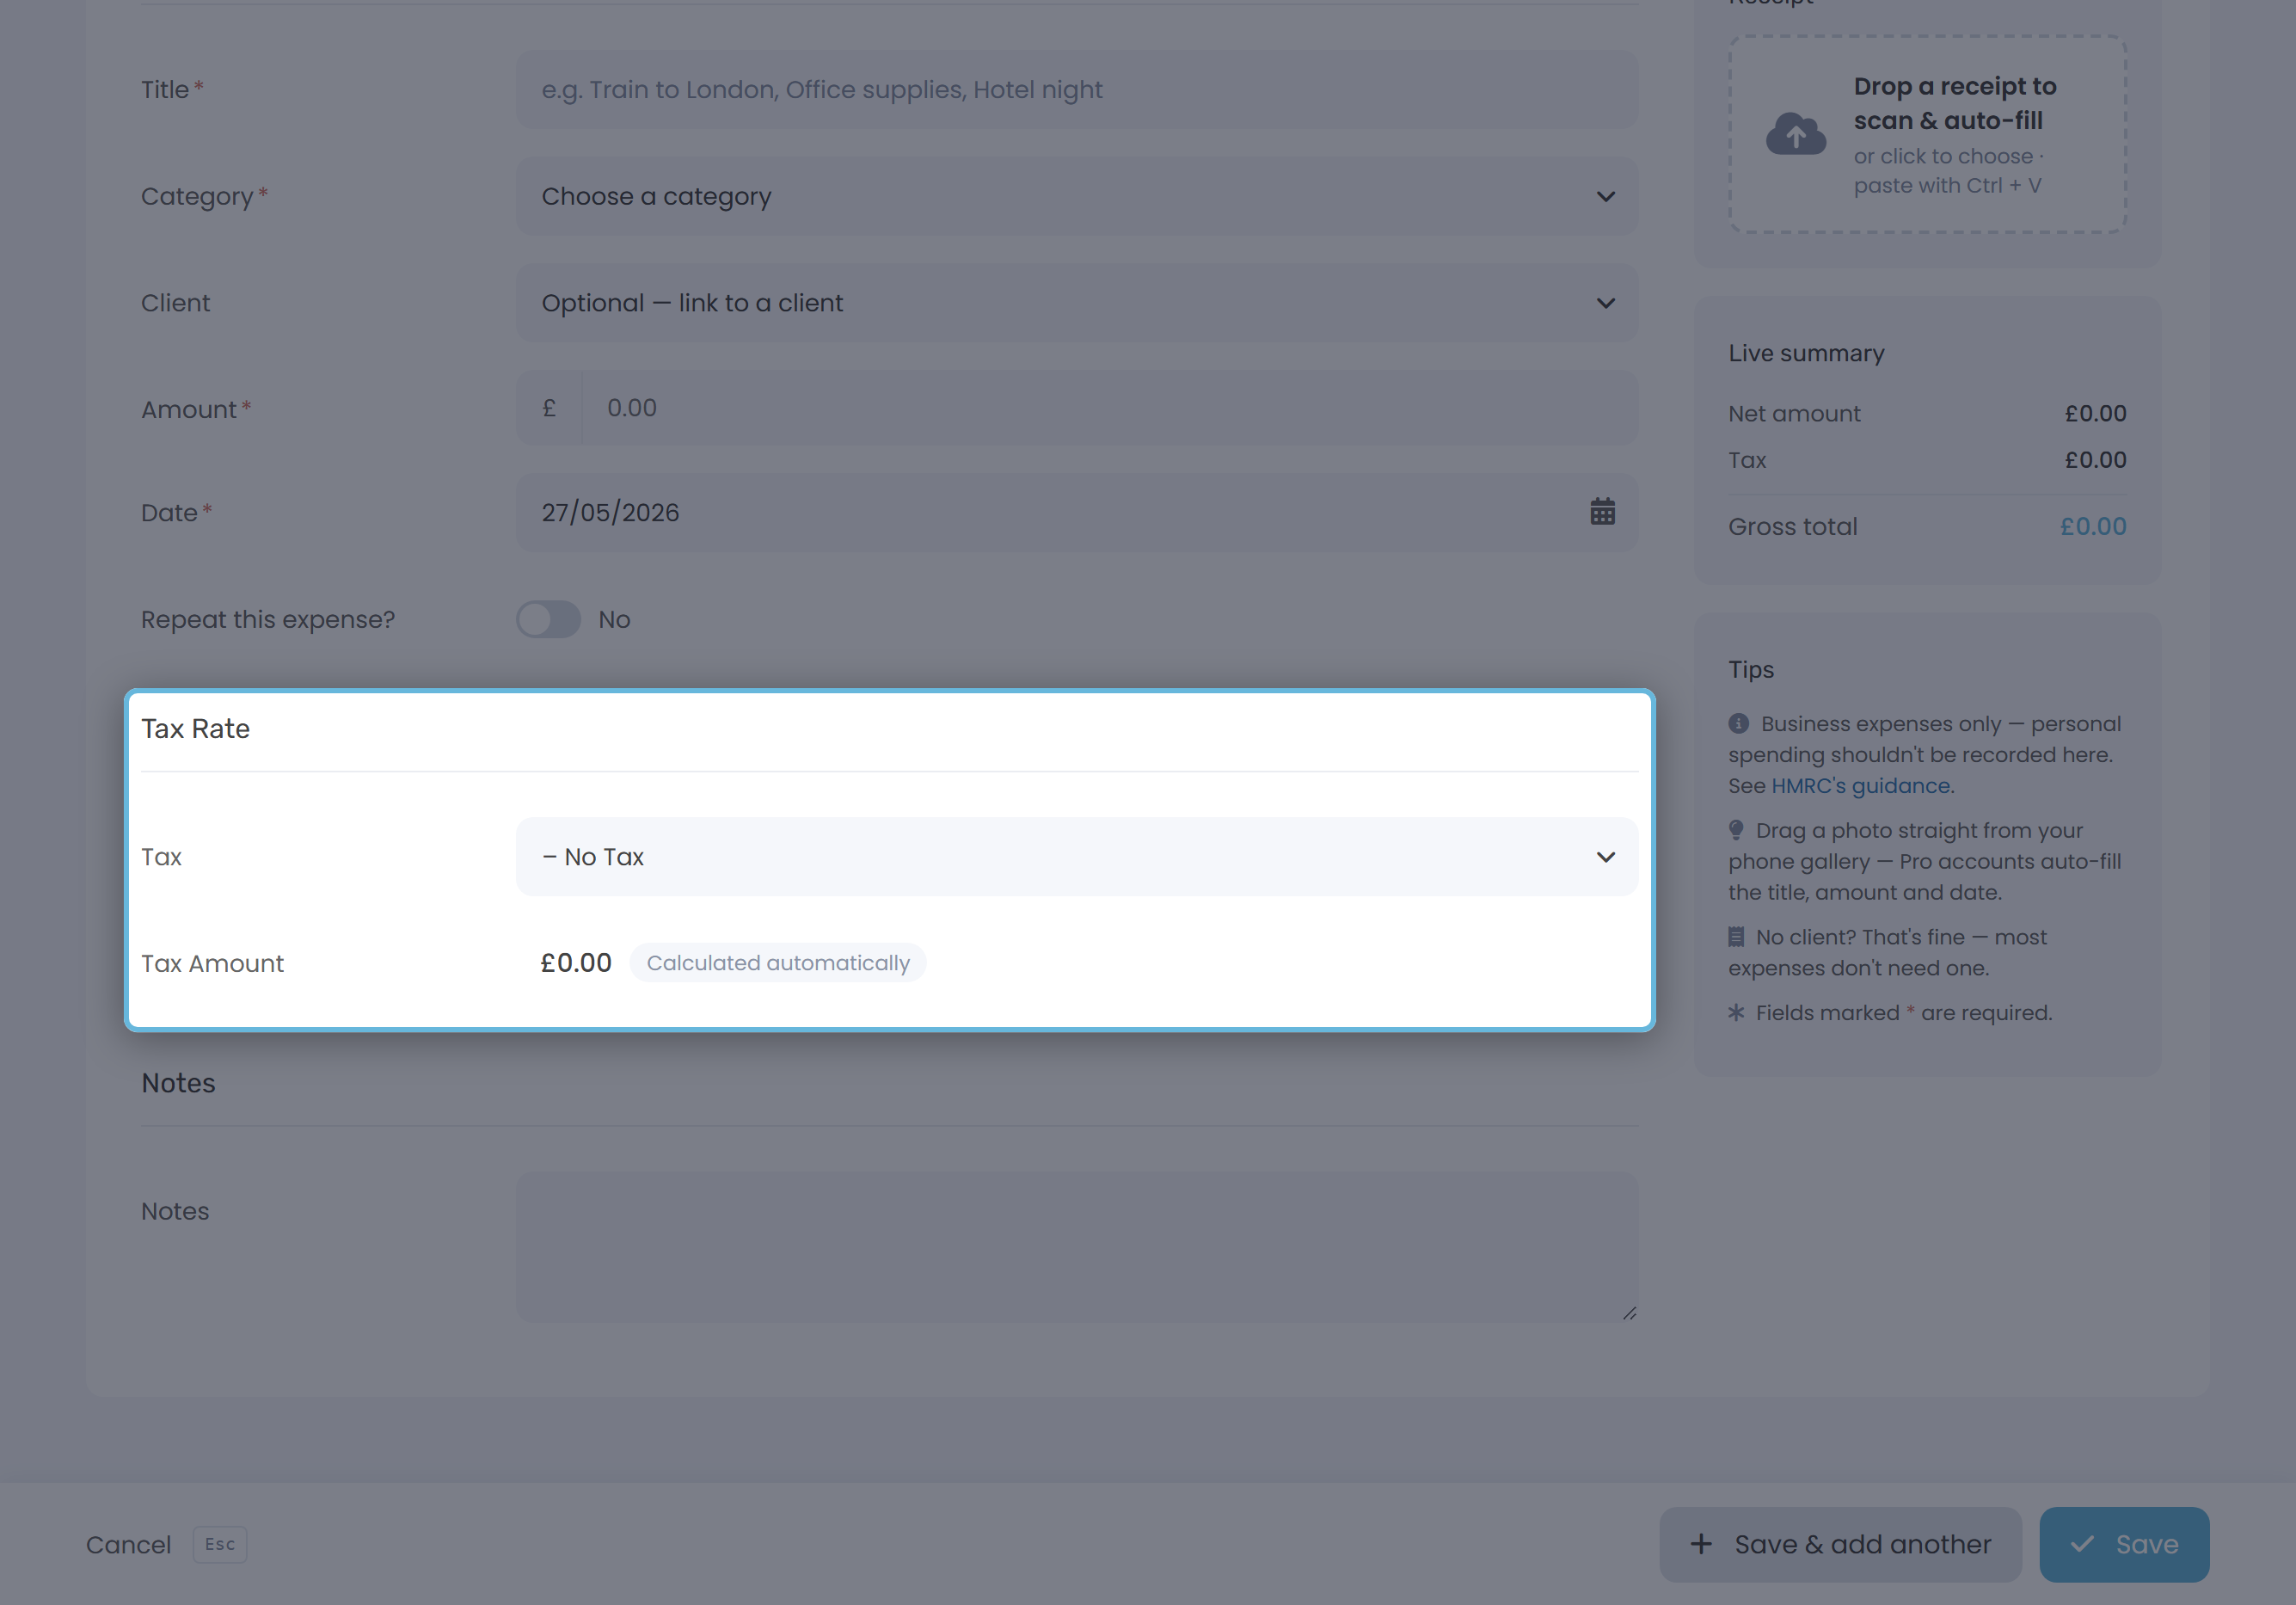
- Check the Tax Amount field below. It's read-only and calculates itself - Keepr multiplies your net amount by the rate you picked. If you don't pick a rate, the tax stays at zero.
Worked example
You buy a £45 keyboard for your desk. The shop charges VAT at 20%.
| Field | Value |
|---|---|
| Title | Mechanical keyboard |
| Category | Office Expenses → Hardware |
| Amount | £45.00 |
| Tax | VAT - 20% |
| Tax Amount (auto) | £9.00 |
| Gross total (Live summary) | £54.00 |
| Date | Today |
Attach a receipt
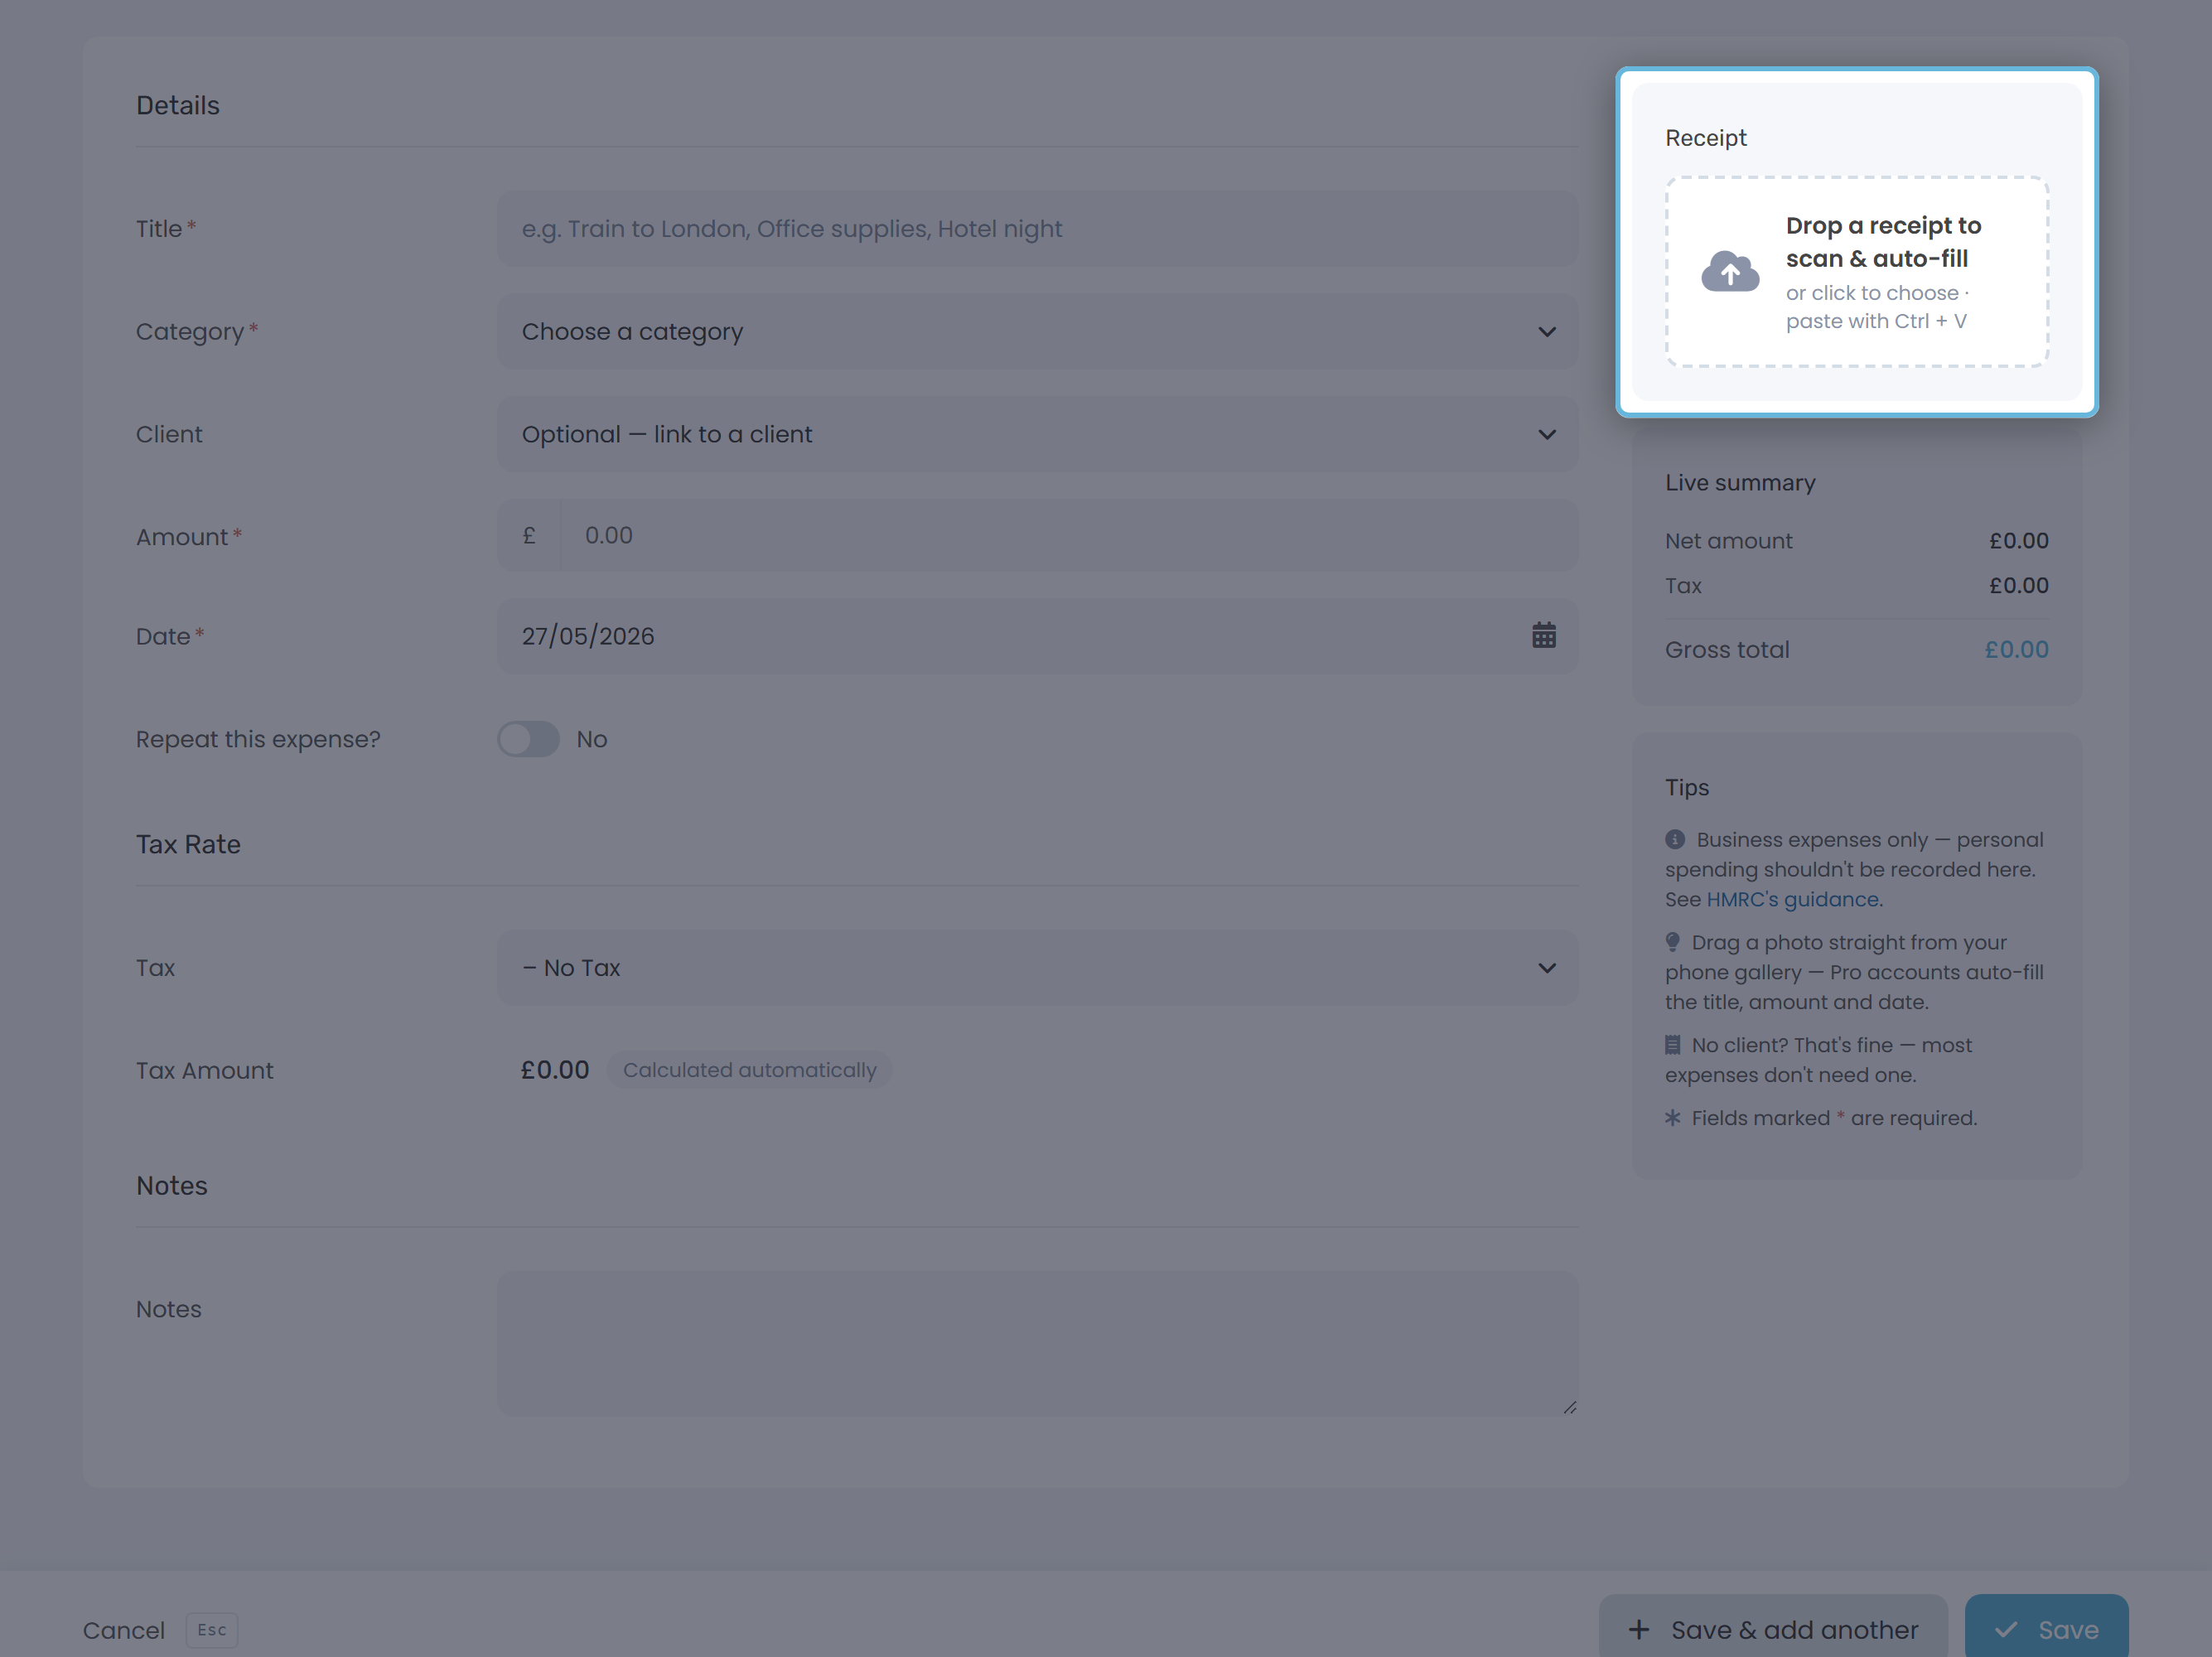
- On the right of the form, find the Receipt card with a drag-and-drop zone. Drag a photo from your phone, your downloads folder or your desktop. Keepr accepts common image formats like JPEG and PNG.
Add notes (optional)
The Notes section at the bottom takes any extra detail you want to keep - who you met for lunch, what the repair was for, the purchase order number. It's free-form text and doesn't show on reports.
Make it repeat (Pro)
If this is a cost that lands on the same date every month - your software subscription, your office rent - flip the Repeat this expense? toggle to Yes. Three more fields appear:
| Field | What it does |
|---|---|
| Start date | The first date Keepr should generate the recurring expense. |
| Recur every | How often to repeat. Choose from 1, 2 or 3 weeks; 1, 2, 3 or 6 months; or 1, 2 or 3 years. |
| How many times | Cap the total number of copies Keepr generates. |
Keepr creates each new copy of the expense automatically on schedule, using the same title, category, amount, tax and notes as the original.
Save the expense
When you're done, look at the sticky bar at the bottom of the page.
- Click Save to log the expense and return to your expense list.
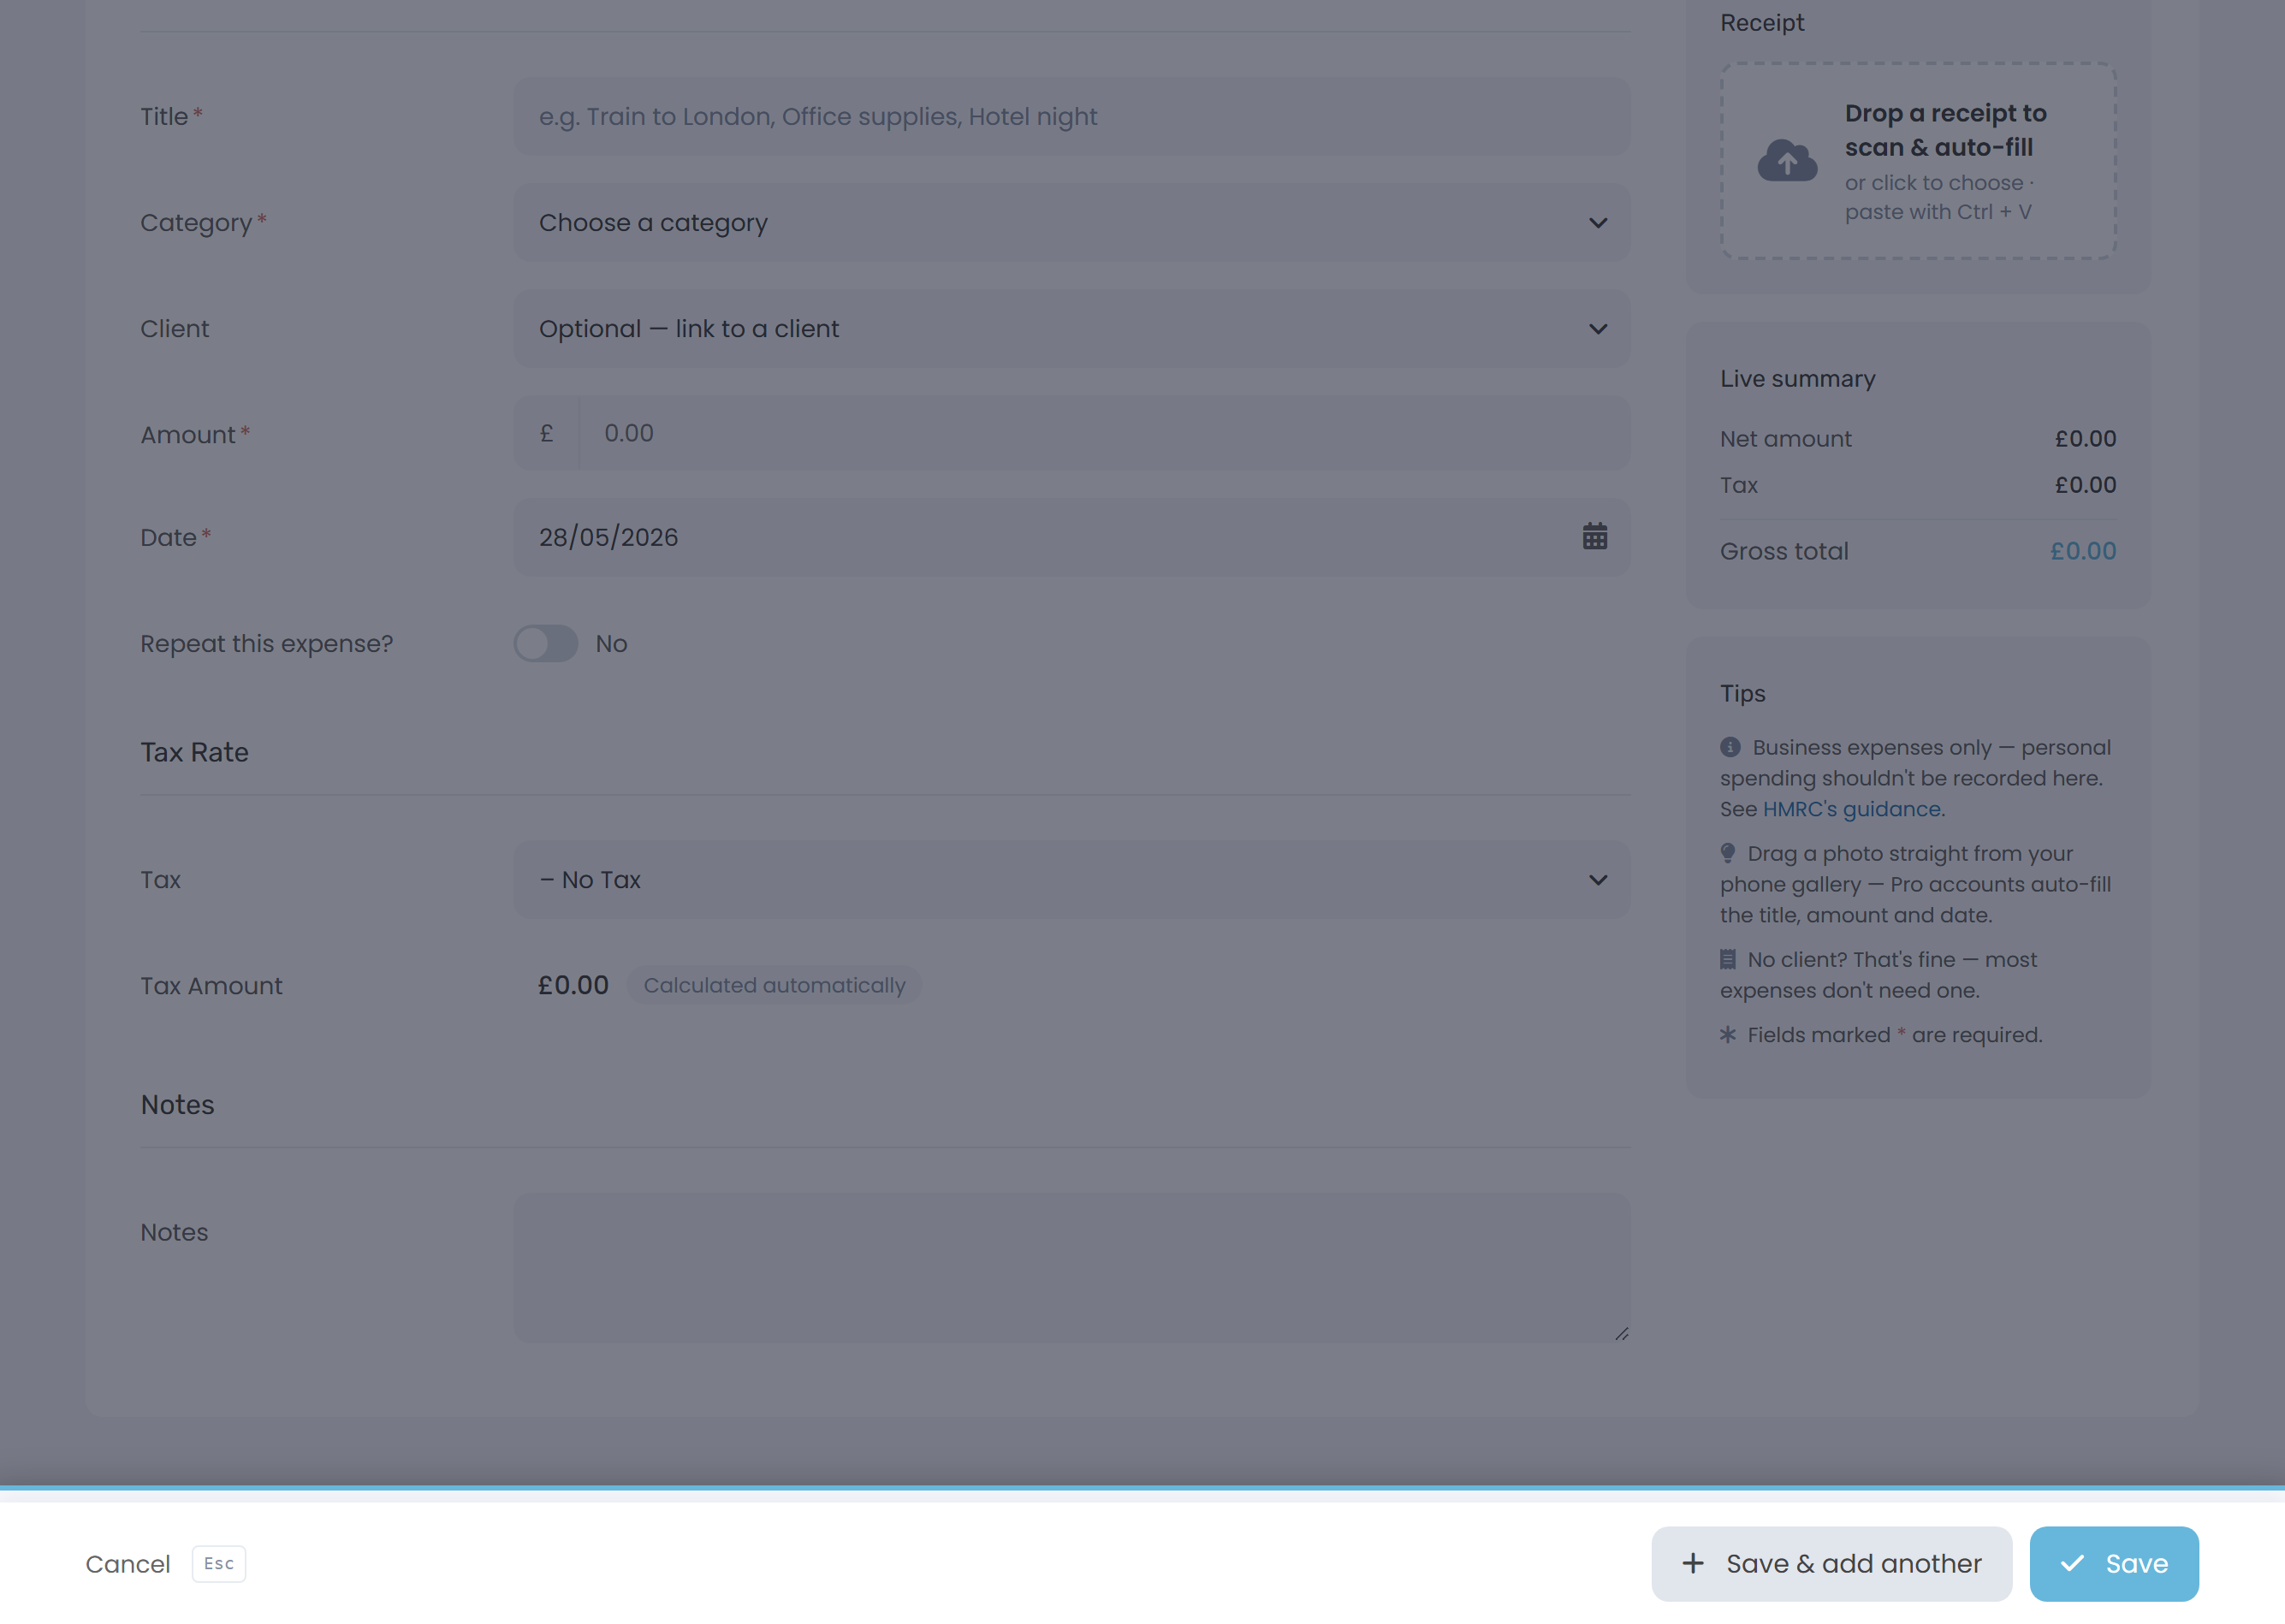
- Or click Save & add another to log this one and stay on the Add Expense page for the next. Handy when you're catching up on a pile of receipts.
- Hit Cancel (or press
Esc) if you change your mind.
After you save, Keepr shows a green New Expense successfully added toast and the expense appears straight away in your list and in your reports.
Editing an expense later
Made a mistake or want to attach the receipt later? Open your expense list, click the expense, and you'll land on the same form titled Edit Expense. Change anything you like and hit Save again.