
Importing data from another tool
Bring your existing clients, invoices, expenses and time entries into Keepr from a CSV, in three guided steps.
Keepr's importer takes a CSV from your old tool - Xero, QuickBooks, FreshBooks, Clockify, a bank export, or a plain spreadsheet - and turns it into clients, invoices, expenses or time entries inside Keepr. Three short steps: upload your file, tell Keepr which column means what, then click Import. You'll find it in the sidebar under Importer.
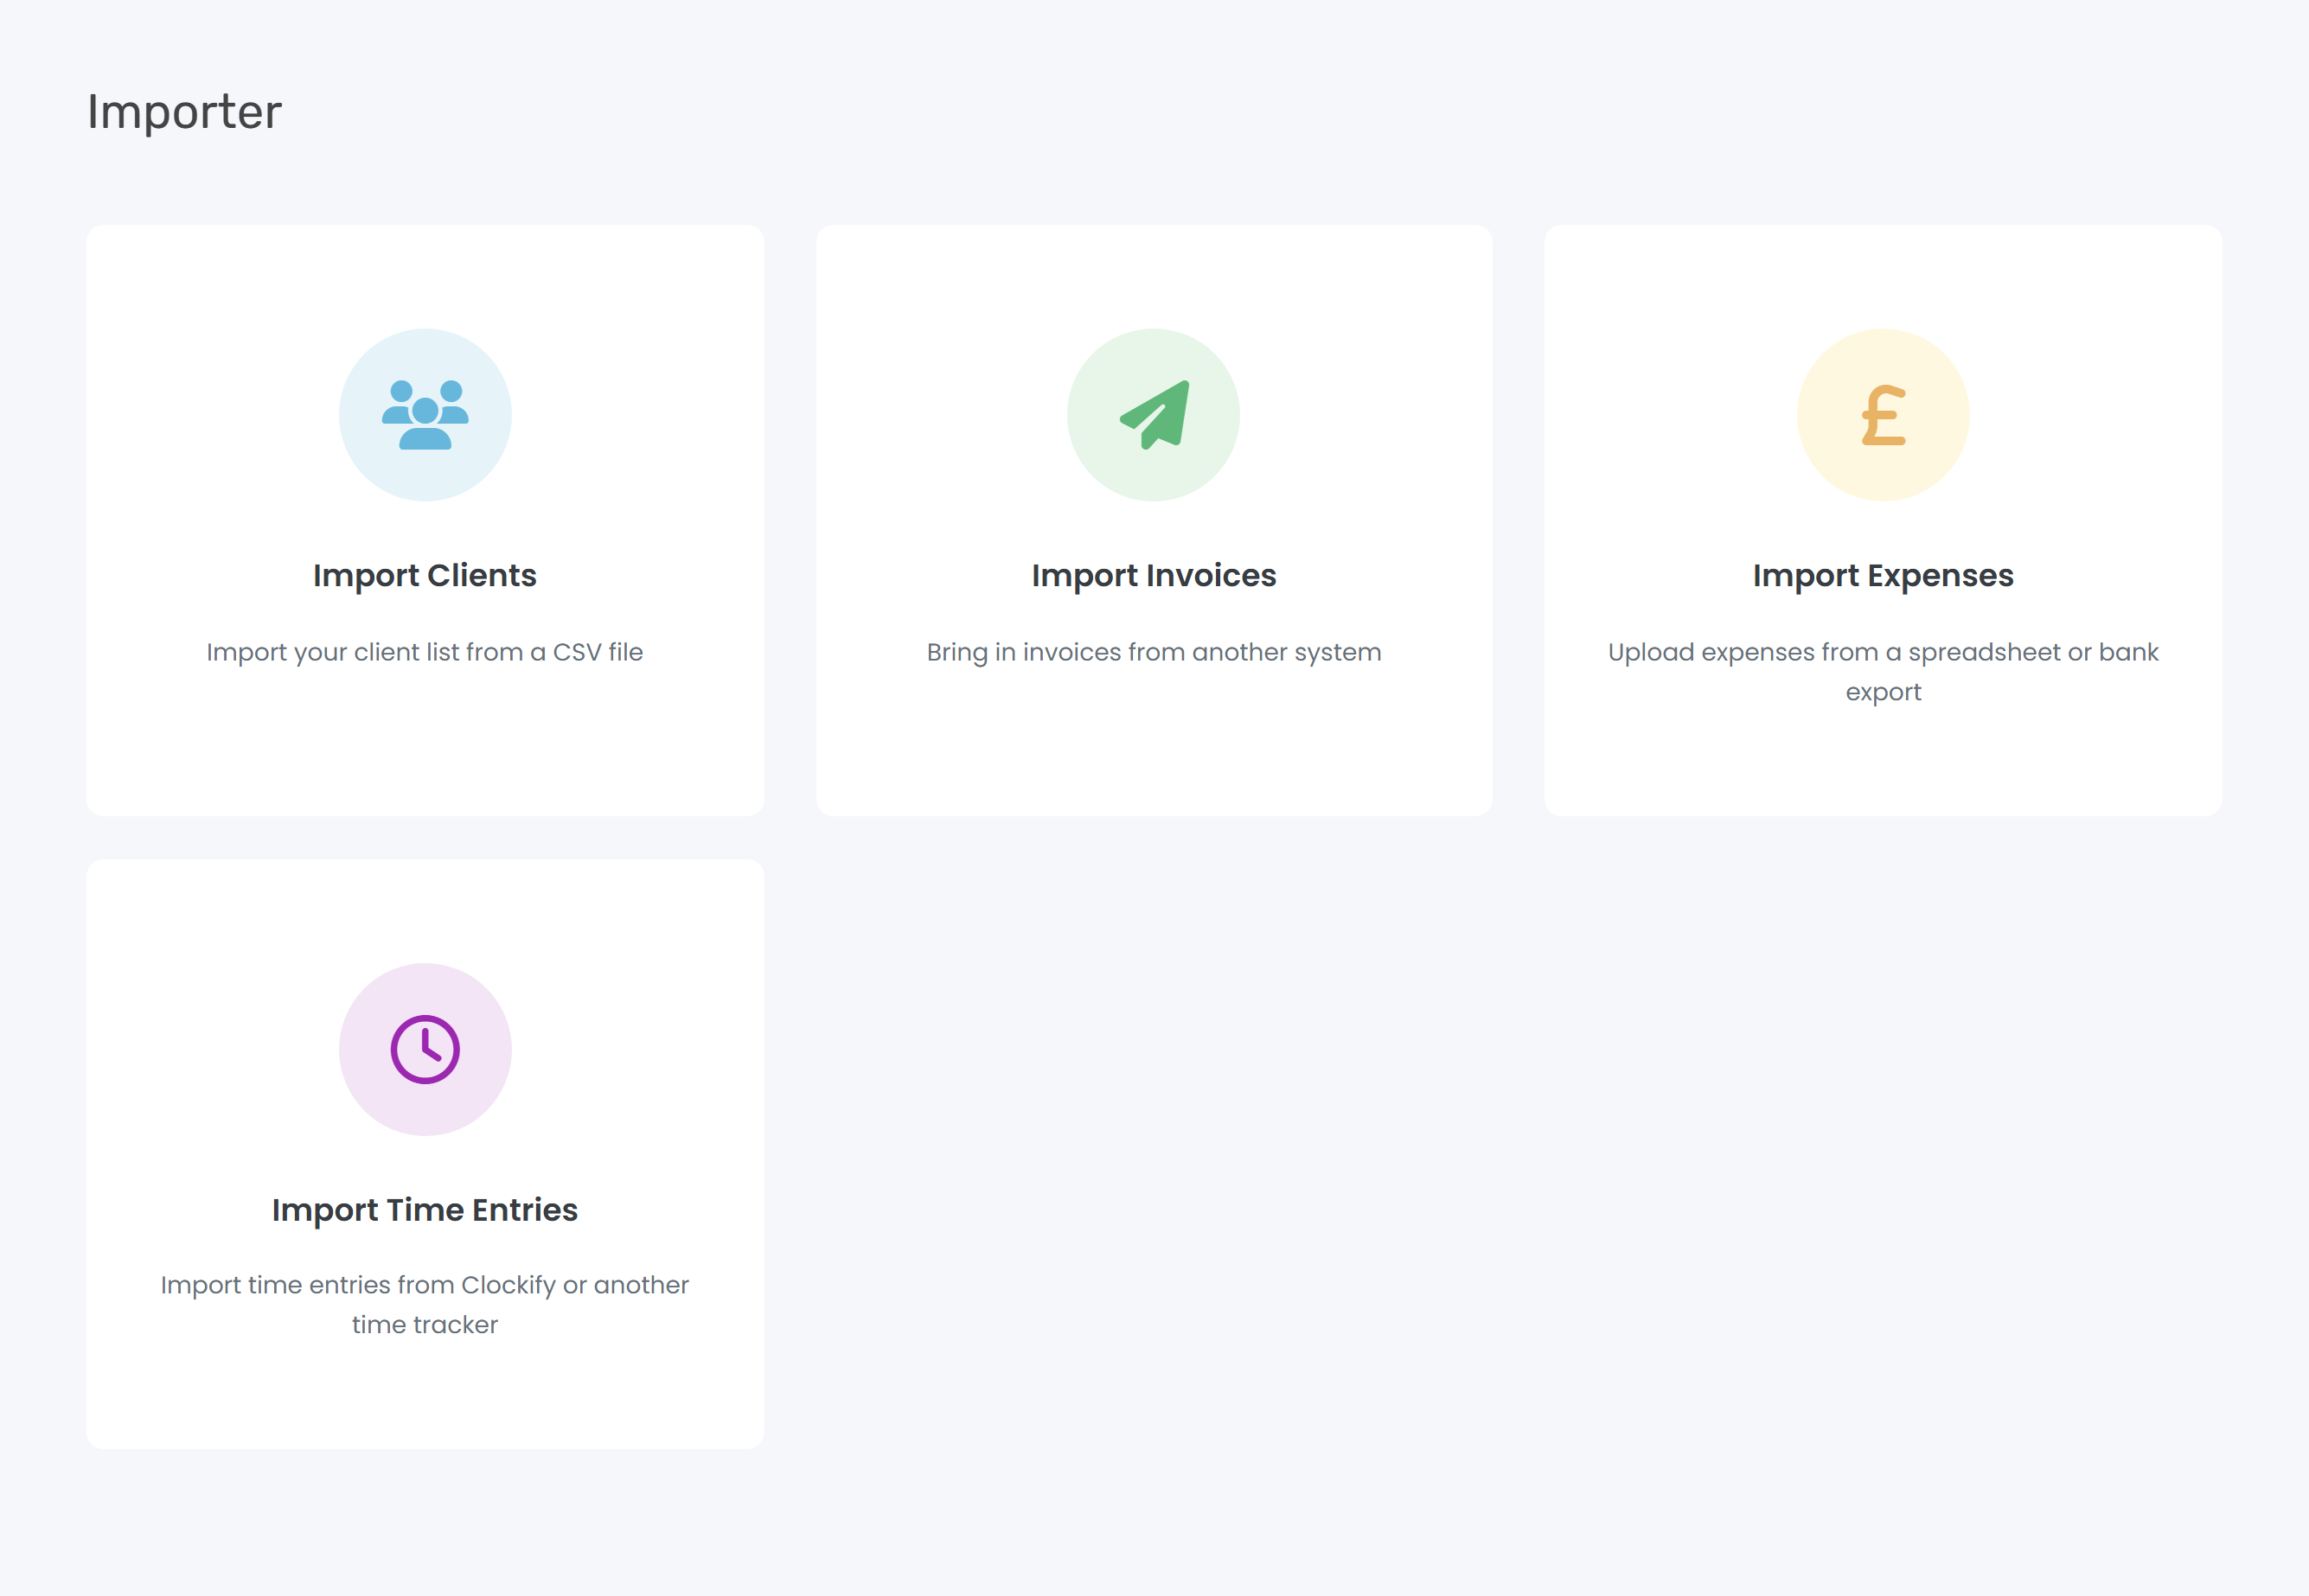
What you can import
| Card on /importer/ | What it brings in |
|---|---|
| Import Clients | Your client list - names, companies, addresses, contact details. |
| Import Invoices | Past invoices with status (Draft, Sent, Paid…), dates and totals. |
| Import Expenses | Business costs from a spreadsheet or a bank statement export. |
| Import Time Entries | Tracked time from Clockify, Toggl or any other time tracker. |
Prepare your CSV
Keepr takes a single CSV up to 5 MB. Xero, QuickBooks, FreshBooks and Clockify all have an Export button that produces one; spreadsheets save out via File → Save As → CSV (UTF-8); most bank statement downloads work as-is. Column order doesn't matter, and any columns Keepr doesn't need are skipped.
Step 1 - Upload your CSV
- Open Importer and click the card for the type you're importing - for example Import Expenses.
- Click Select file, choose your CSV, and tick Does your spreadsheet include headers? if row 1 is column titles.
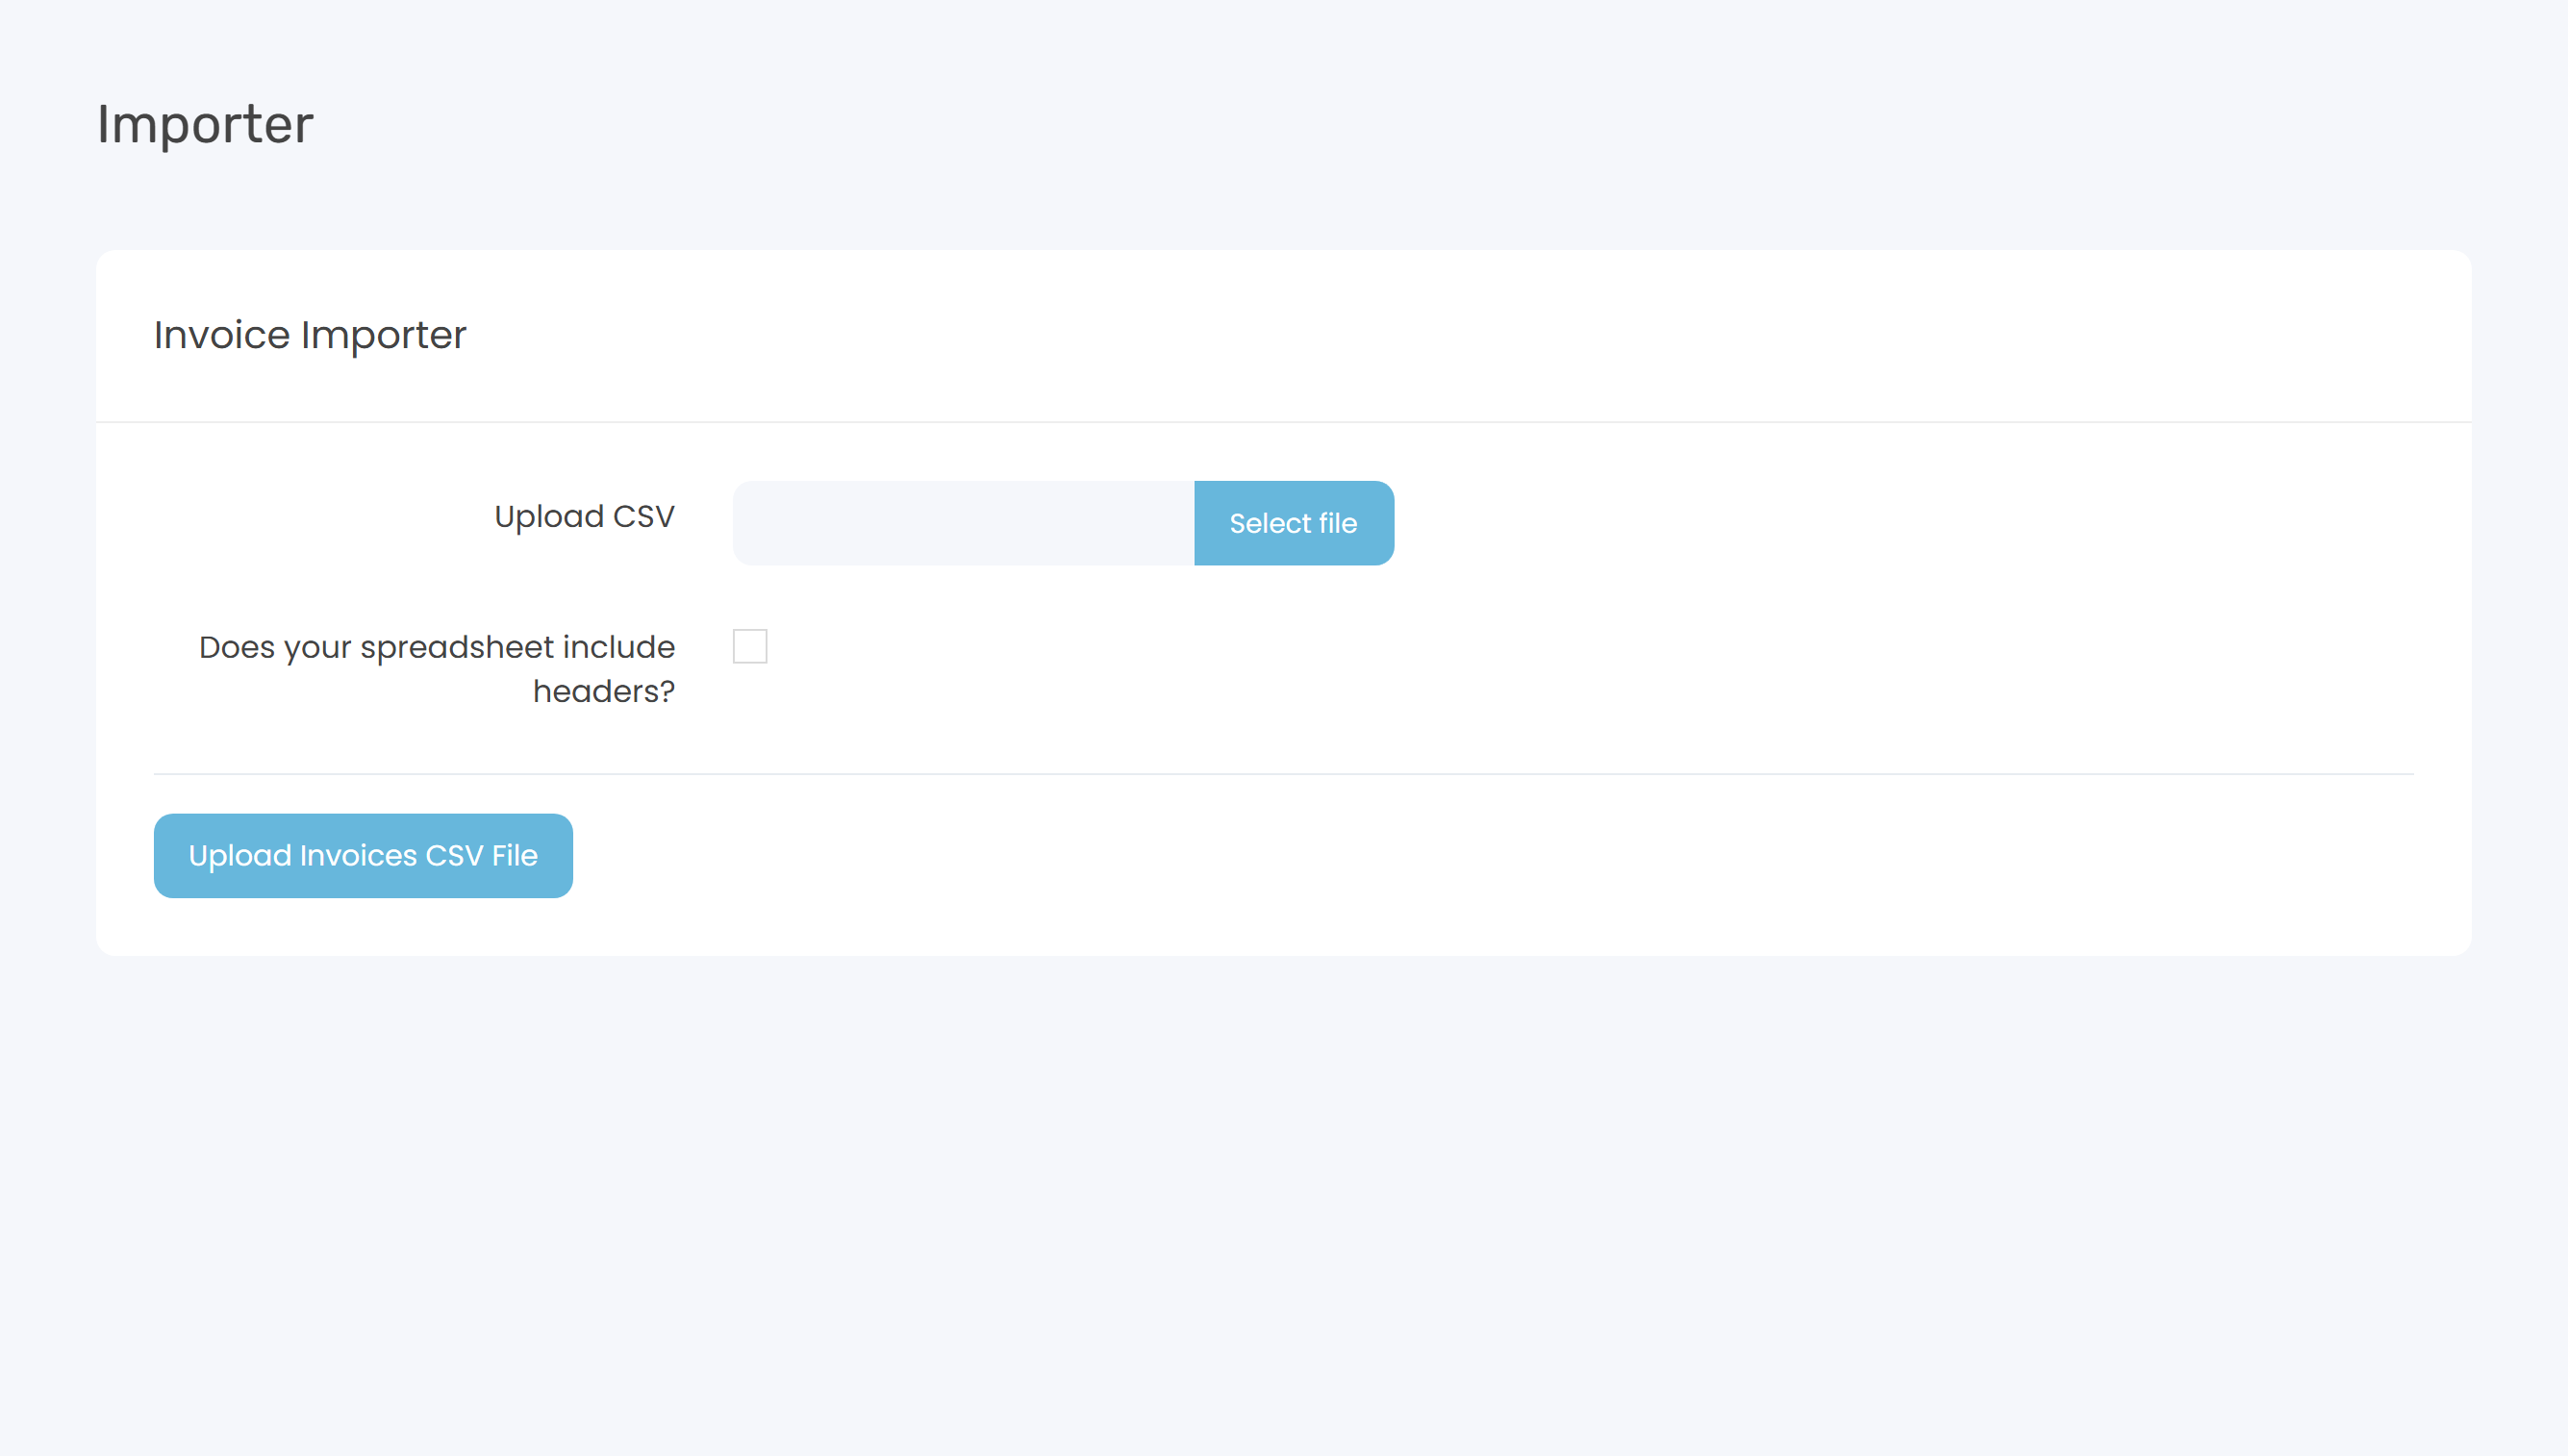
- Click the blue Upload … CSV File button. Keepr reads the file and takes you to the column-mapping screen.
Step 2 - Map your columns
Keepr shows the first five rows of your file in a table. Above each column is a dropdown of every field Keepr can fill (Title, Amount, Date, Category, Client and so on). For each column, pick a field and click Save, or click Skip if Keepr doesn't need it.
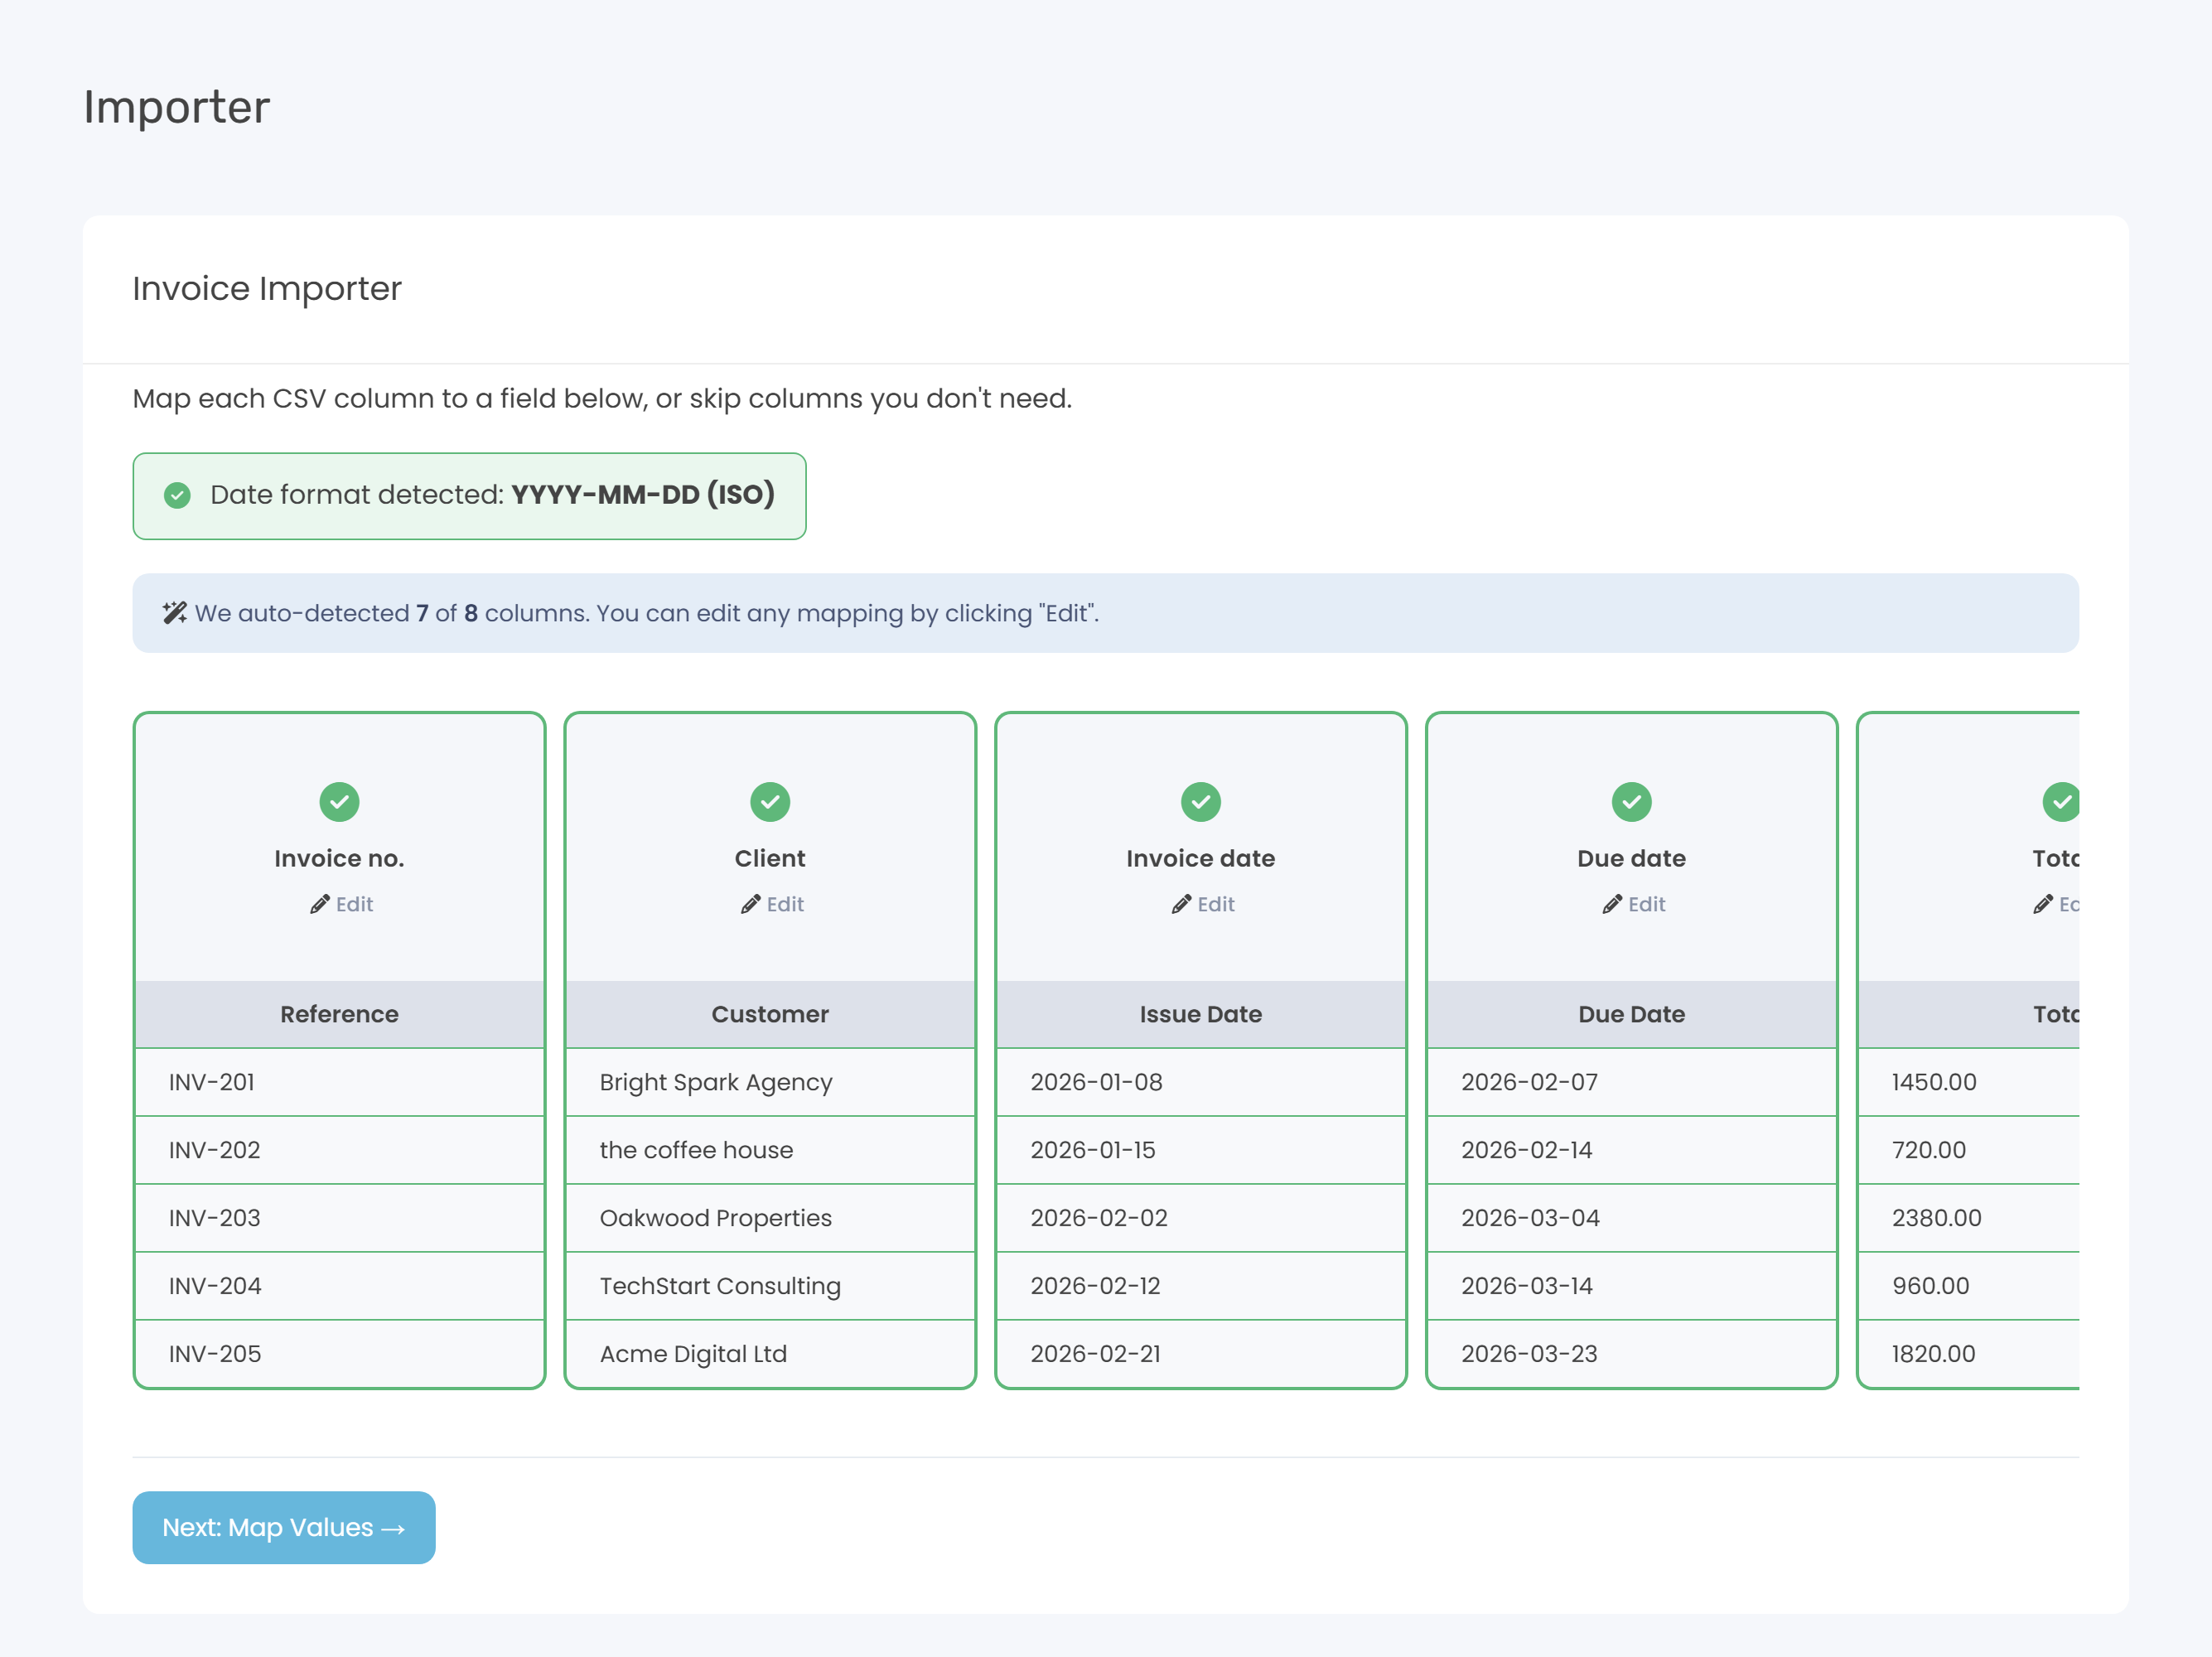
Two extra options to know about: Full name (auto-split) appears for Client imports and splits Jane Smith into first name and surname, stripping titles (Mr, Mrs, Dr…). Description appears for Invoice imports and turns a description column into a single invoice line called Imported Item using the mapped total.
If Keepr can confidently detect your date format (DD/MM/YYYY, MM/DD/YYYY or YYYY-MM-DD) it shows a green Date format detected tick. If not, you pick from a dropdown.
Step 3 - Map values (only when needed)
Some columns reference other Keepr records - if your invoice CSV has a Client column saying Acme Ltd, Keepr needs to know whether that's an existing client or a new one. This screen lists every unique value in those columns. For each one, pick an existing record from the dropdown, choose Create New, or pick Don't import these rows to skip them (useful for odd old test entries).
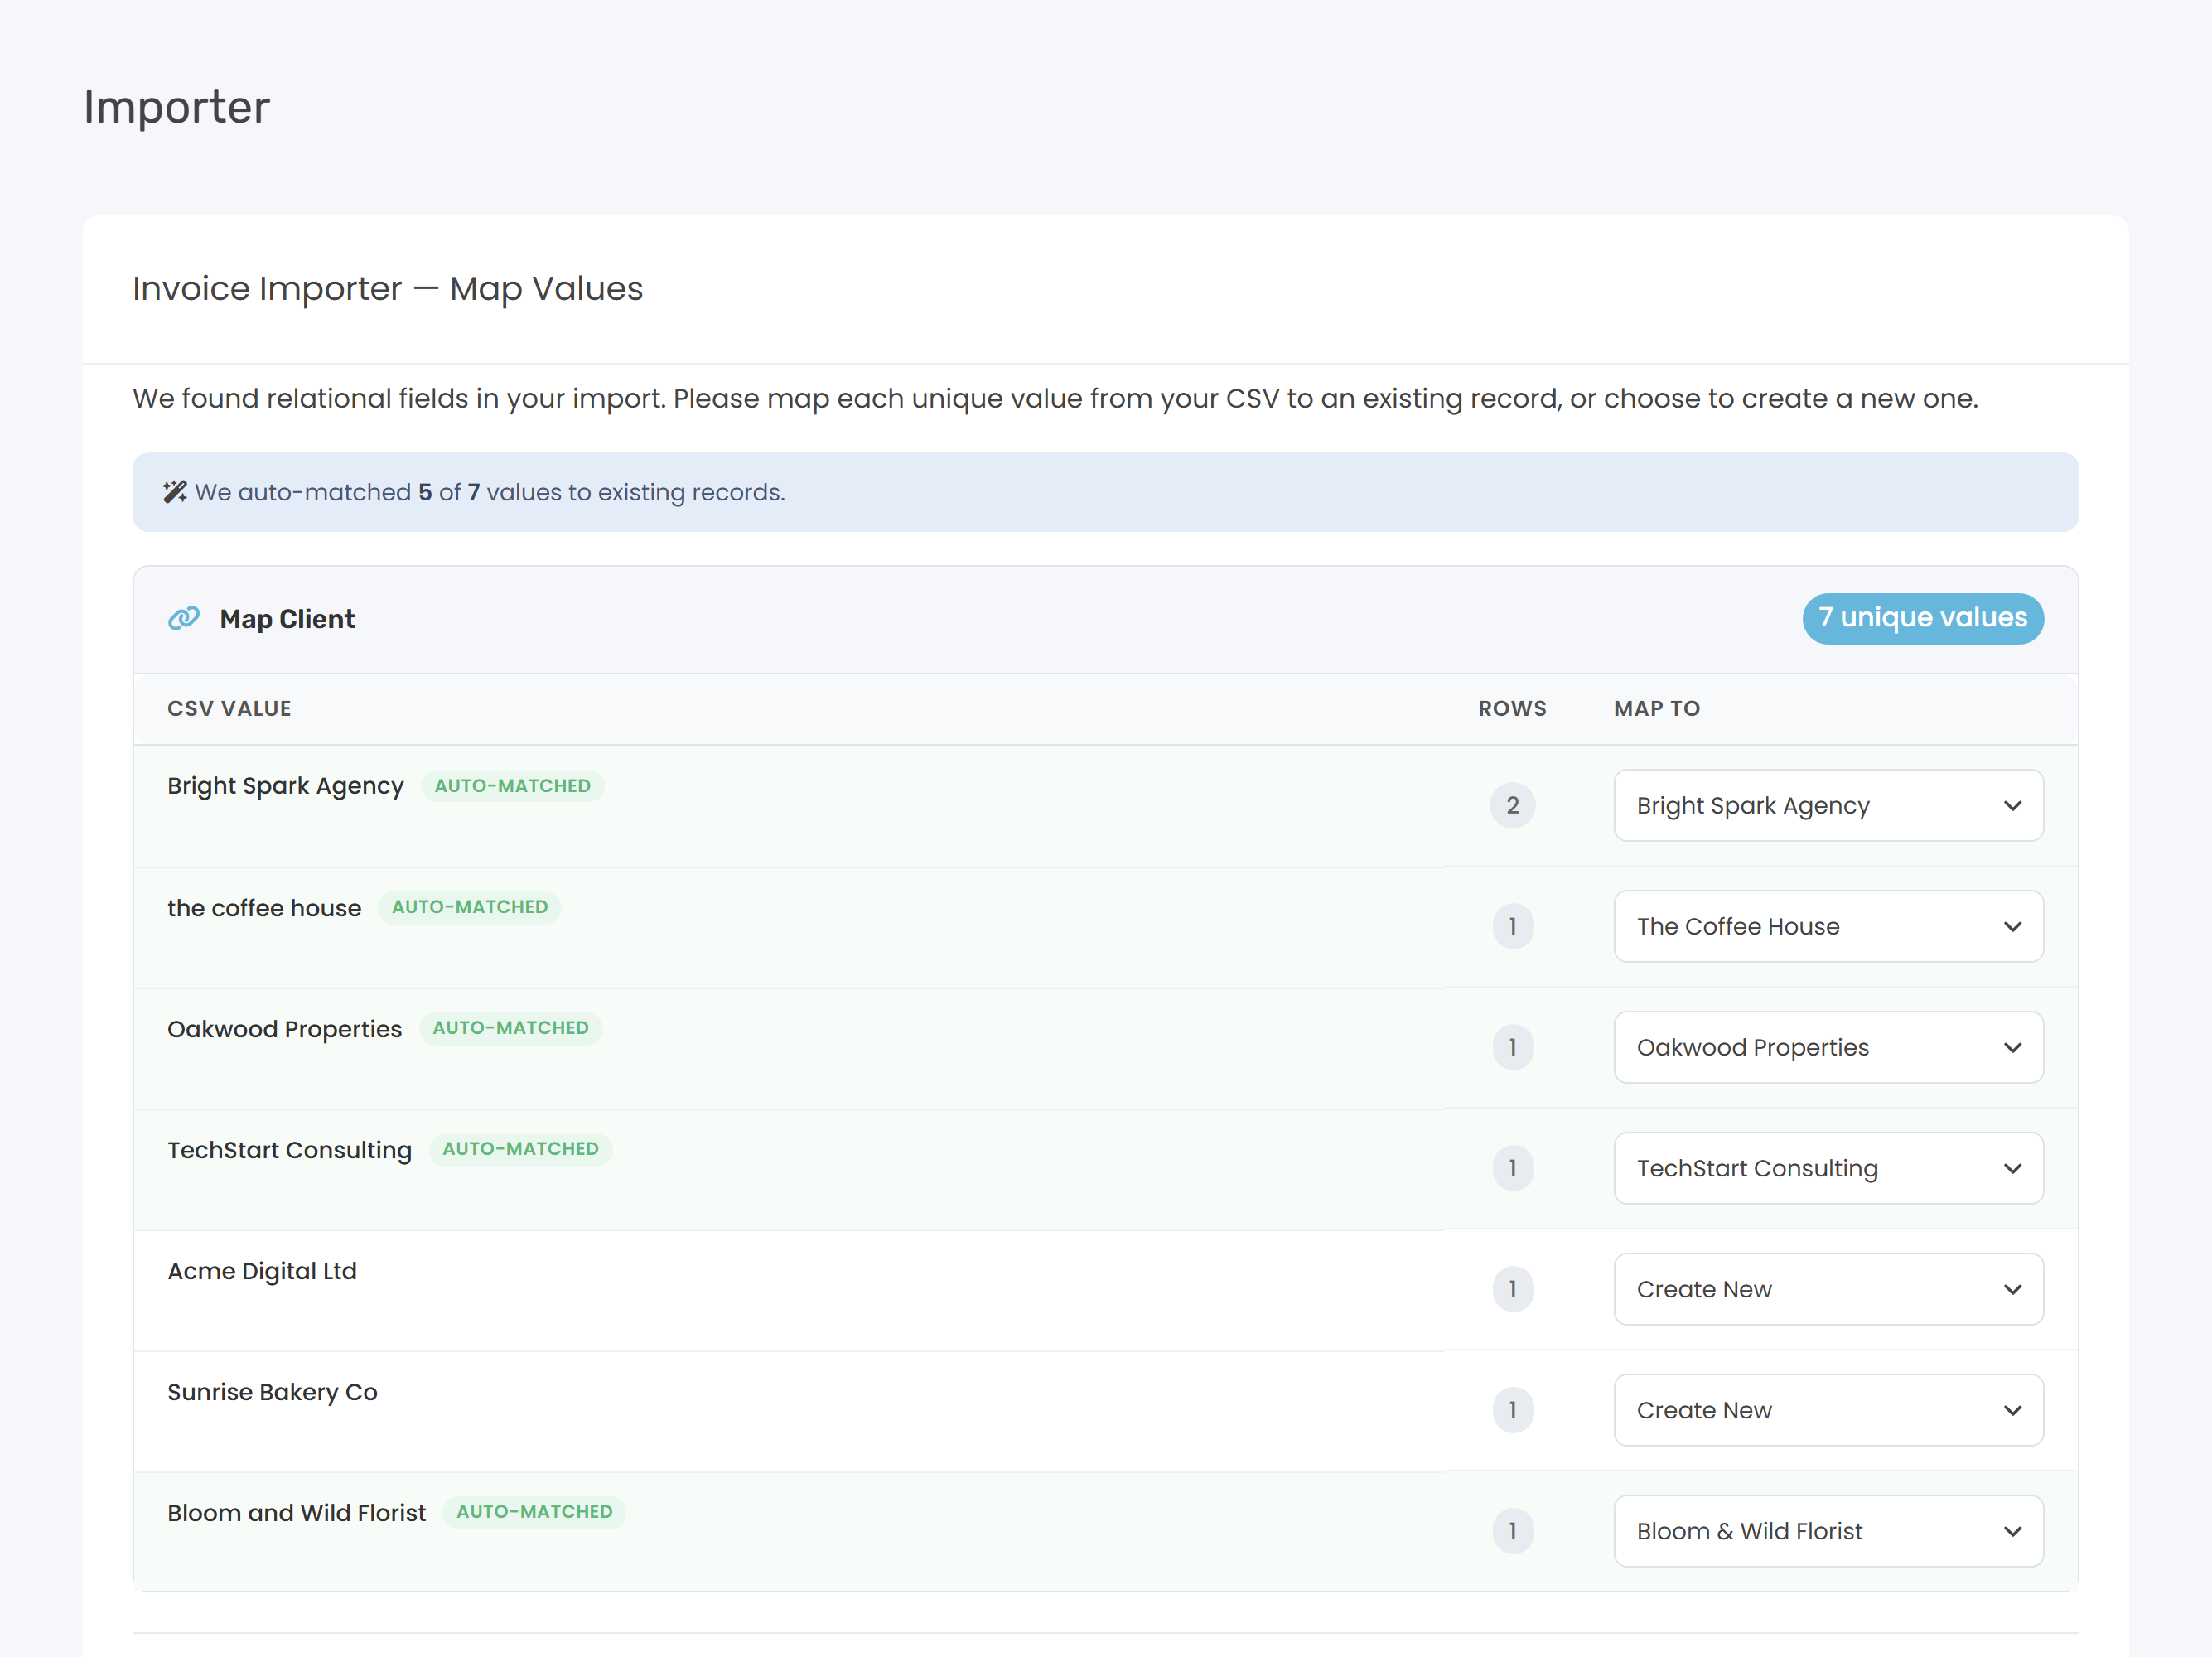
Time entries get one extra question here: a Billed Status cutoff date. Anything in your CSV dated before the cutoff is imported as already billed, so it doesn't show up as unbilled hours later. Leave it blank to import everything as unbilled. Then click Import … and Keepr runs through your file.
Worked example: six months of expenses from Xero
You've left Xero and want your last six months of business spending in Keepr before starting fresh. In Xero you export an Account Transactions report as CSV - it has columns for Date, Description, Amount, VAT and Category, plus a few Xero-only columns.
- Open Importer and click Import Expenses.
- Pick your Xero CSV, tick Does your spreadsheet include headers?, and upload it.
- On the column-mapping screen Keepr has already mapped Date, Description, Amount, VAT and Category. Click Skip on the Xero-only columns. The date format (DD/MM/YYYY) is auto-detected.
- Because you mapped Category, the button reads Next: Map Values →. Click it. Keepr lists every unique Xero category; matches to your existing ones (Travel, Software, Office Expenses) are auto-matched. For the rest, leave the default Create New.
- Click Import Expenses. Keepr saves every row and lands you on the results page with a green tick and a count like 184 Expenses imported.