
Setting up expense categories in Keepr
How to organise the categories Keepr uses to group your business spending - keep the defaults, add your own, or restructure to match how you actually work.
Categories are how Keepr groups your spending. Every expense you record gets one, and the totals roll up into your Expenses report, your Profit & Loss and your tax workings. Keepr seeds your account with a sensible set the moment you sign up, so most people never need to touch this page - but when you do, this is where to do it.
Where to manage categories
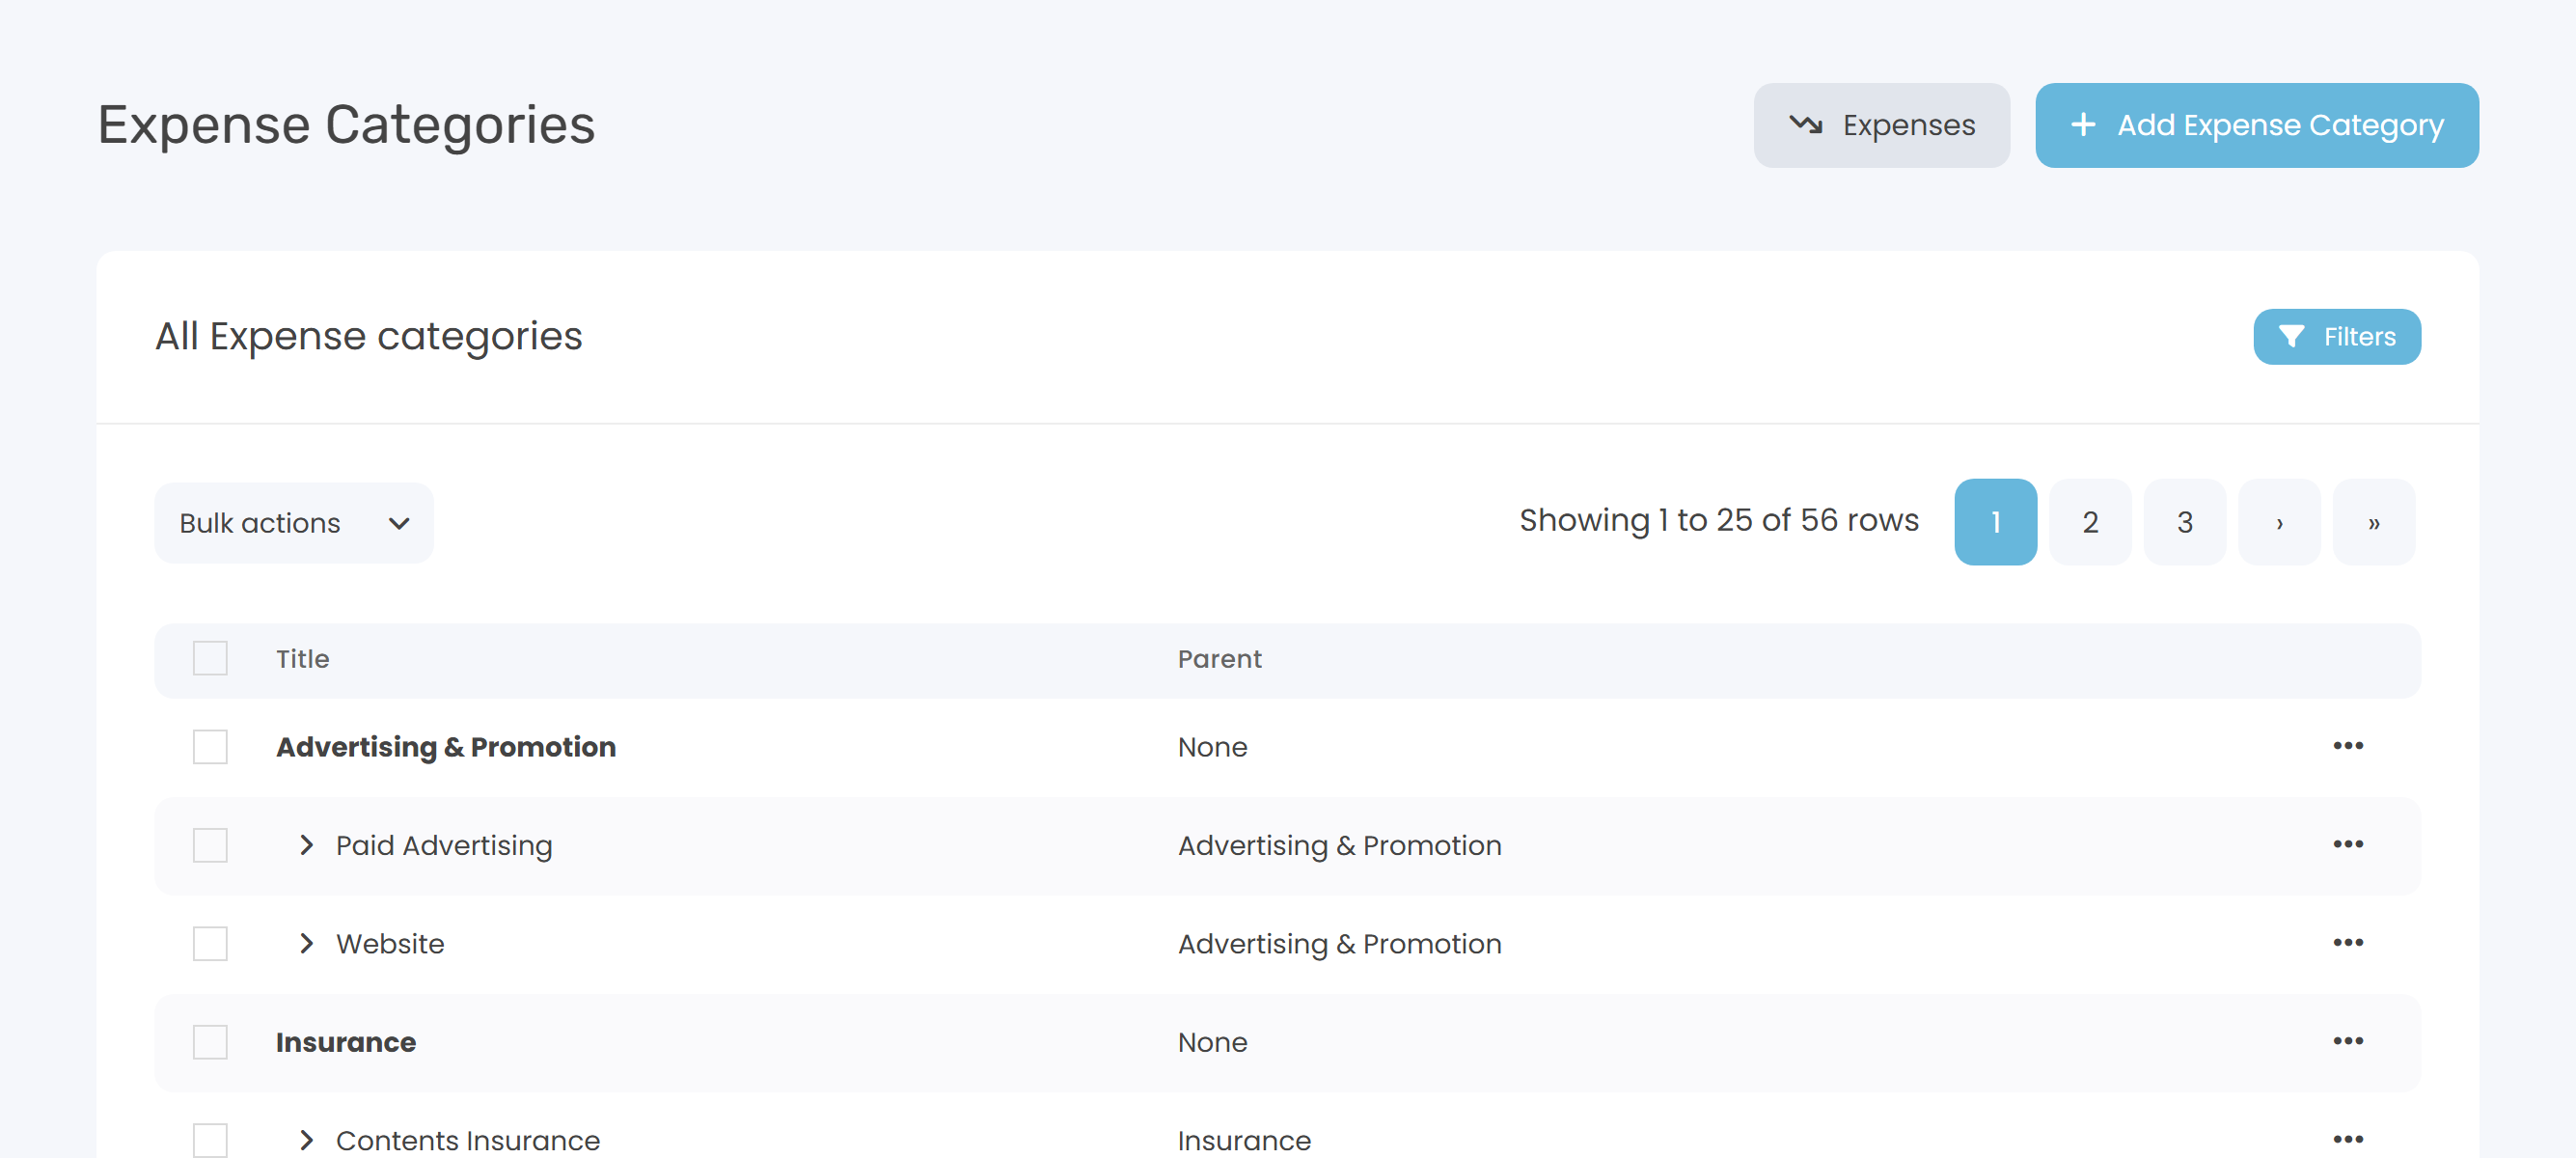
Open Expenses from the sidebar, then click Expense Categories in the top-right toolbar. That takes you to the management list at Expense Categories - one row per category, with sub-categories nested under their parent.

The 12 categories Keepr starts you with
When you sign up, Keepr seeds your account with twelve parent categories and a handful of sub-categories under each. They map to the way HMRC thinks about self-employed expenses, so they're a good starting point even if you eventually rename them.
| Parent category | What goes in it |
|---|---|
| Advertising & Promotion | Paid advertising, your website, anything you spend to get the work in. |
| Insurance | Contents, professional indemnity, vehicle insurance. |
| Meals & Entertainment | Client lunches, entertainment with business purpose. |
| Office Expenses | Furniture, hardware, software, stationery, postage, printing. |
| Other Expenses | Bank charges, contractors, depreciation, interest, taxes. |
| Professional Fees | Accountant, lawyer, anyone you pay for professional advice. |
| Rent | Office rental, equipment rental, vehicle rental. |
| Staff | Wages, training. |
| Travel | Accommodation, airfare, parking, public transport, taxi. |
| Use of Home as Office | Council tax, mortgage, rent, utilities - the share that's for business. |
| Utilities | Electricity, gas, internet, telephone. |
| Vehicle | Fuel, maintenance, mileage. |
Each parent has an icon (a briefcase for Professional Fees, a plane for Travel, and so on) which Keepr also uses for the sub-categories underneath it, so the list reads at a glance.
Adding a category
There are two routes - pick whichever fits where you are:
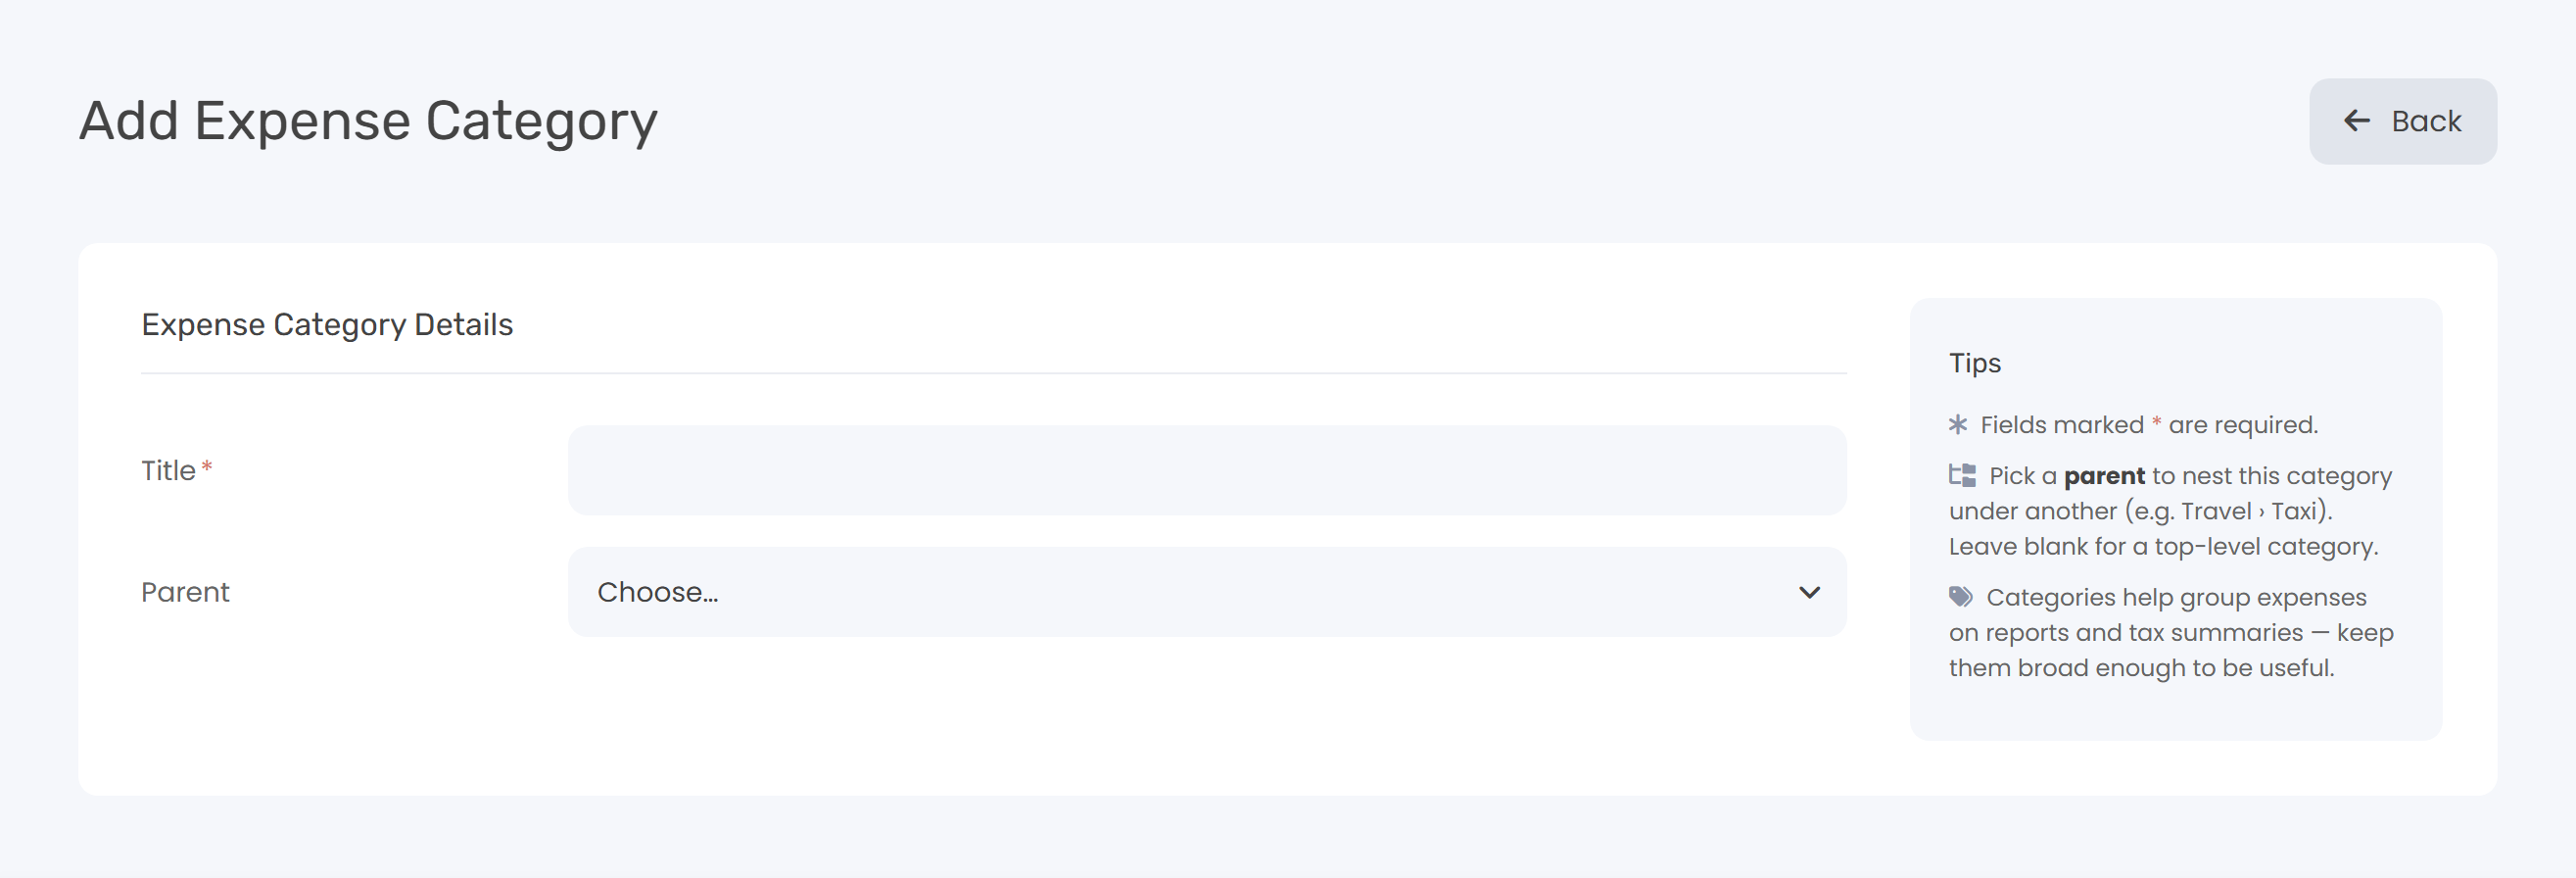
- From the category list. Open Expense Categories and click + Add Expense Category in the top-right toolbar. You land on the full form with a Title field and a Parent dropdown.
- From the Add Expense form. Open the Category dropdown while you're recording an expense, click + Add New Category at the top of the menu, and a small popover lets you type a name (and optionally pick a parent) without losing what you've already filled in.
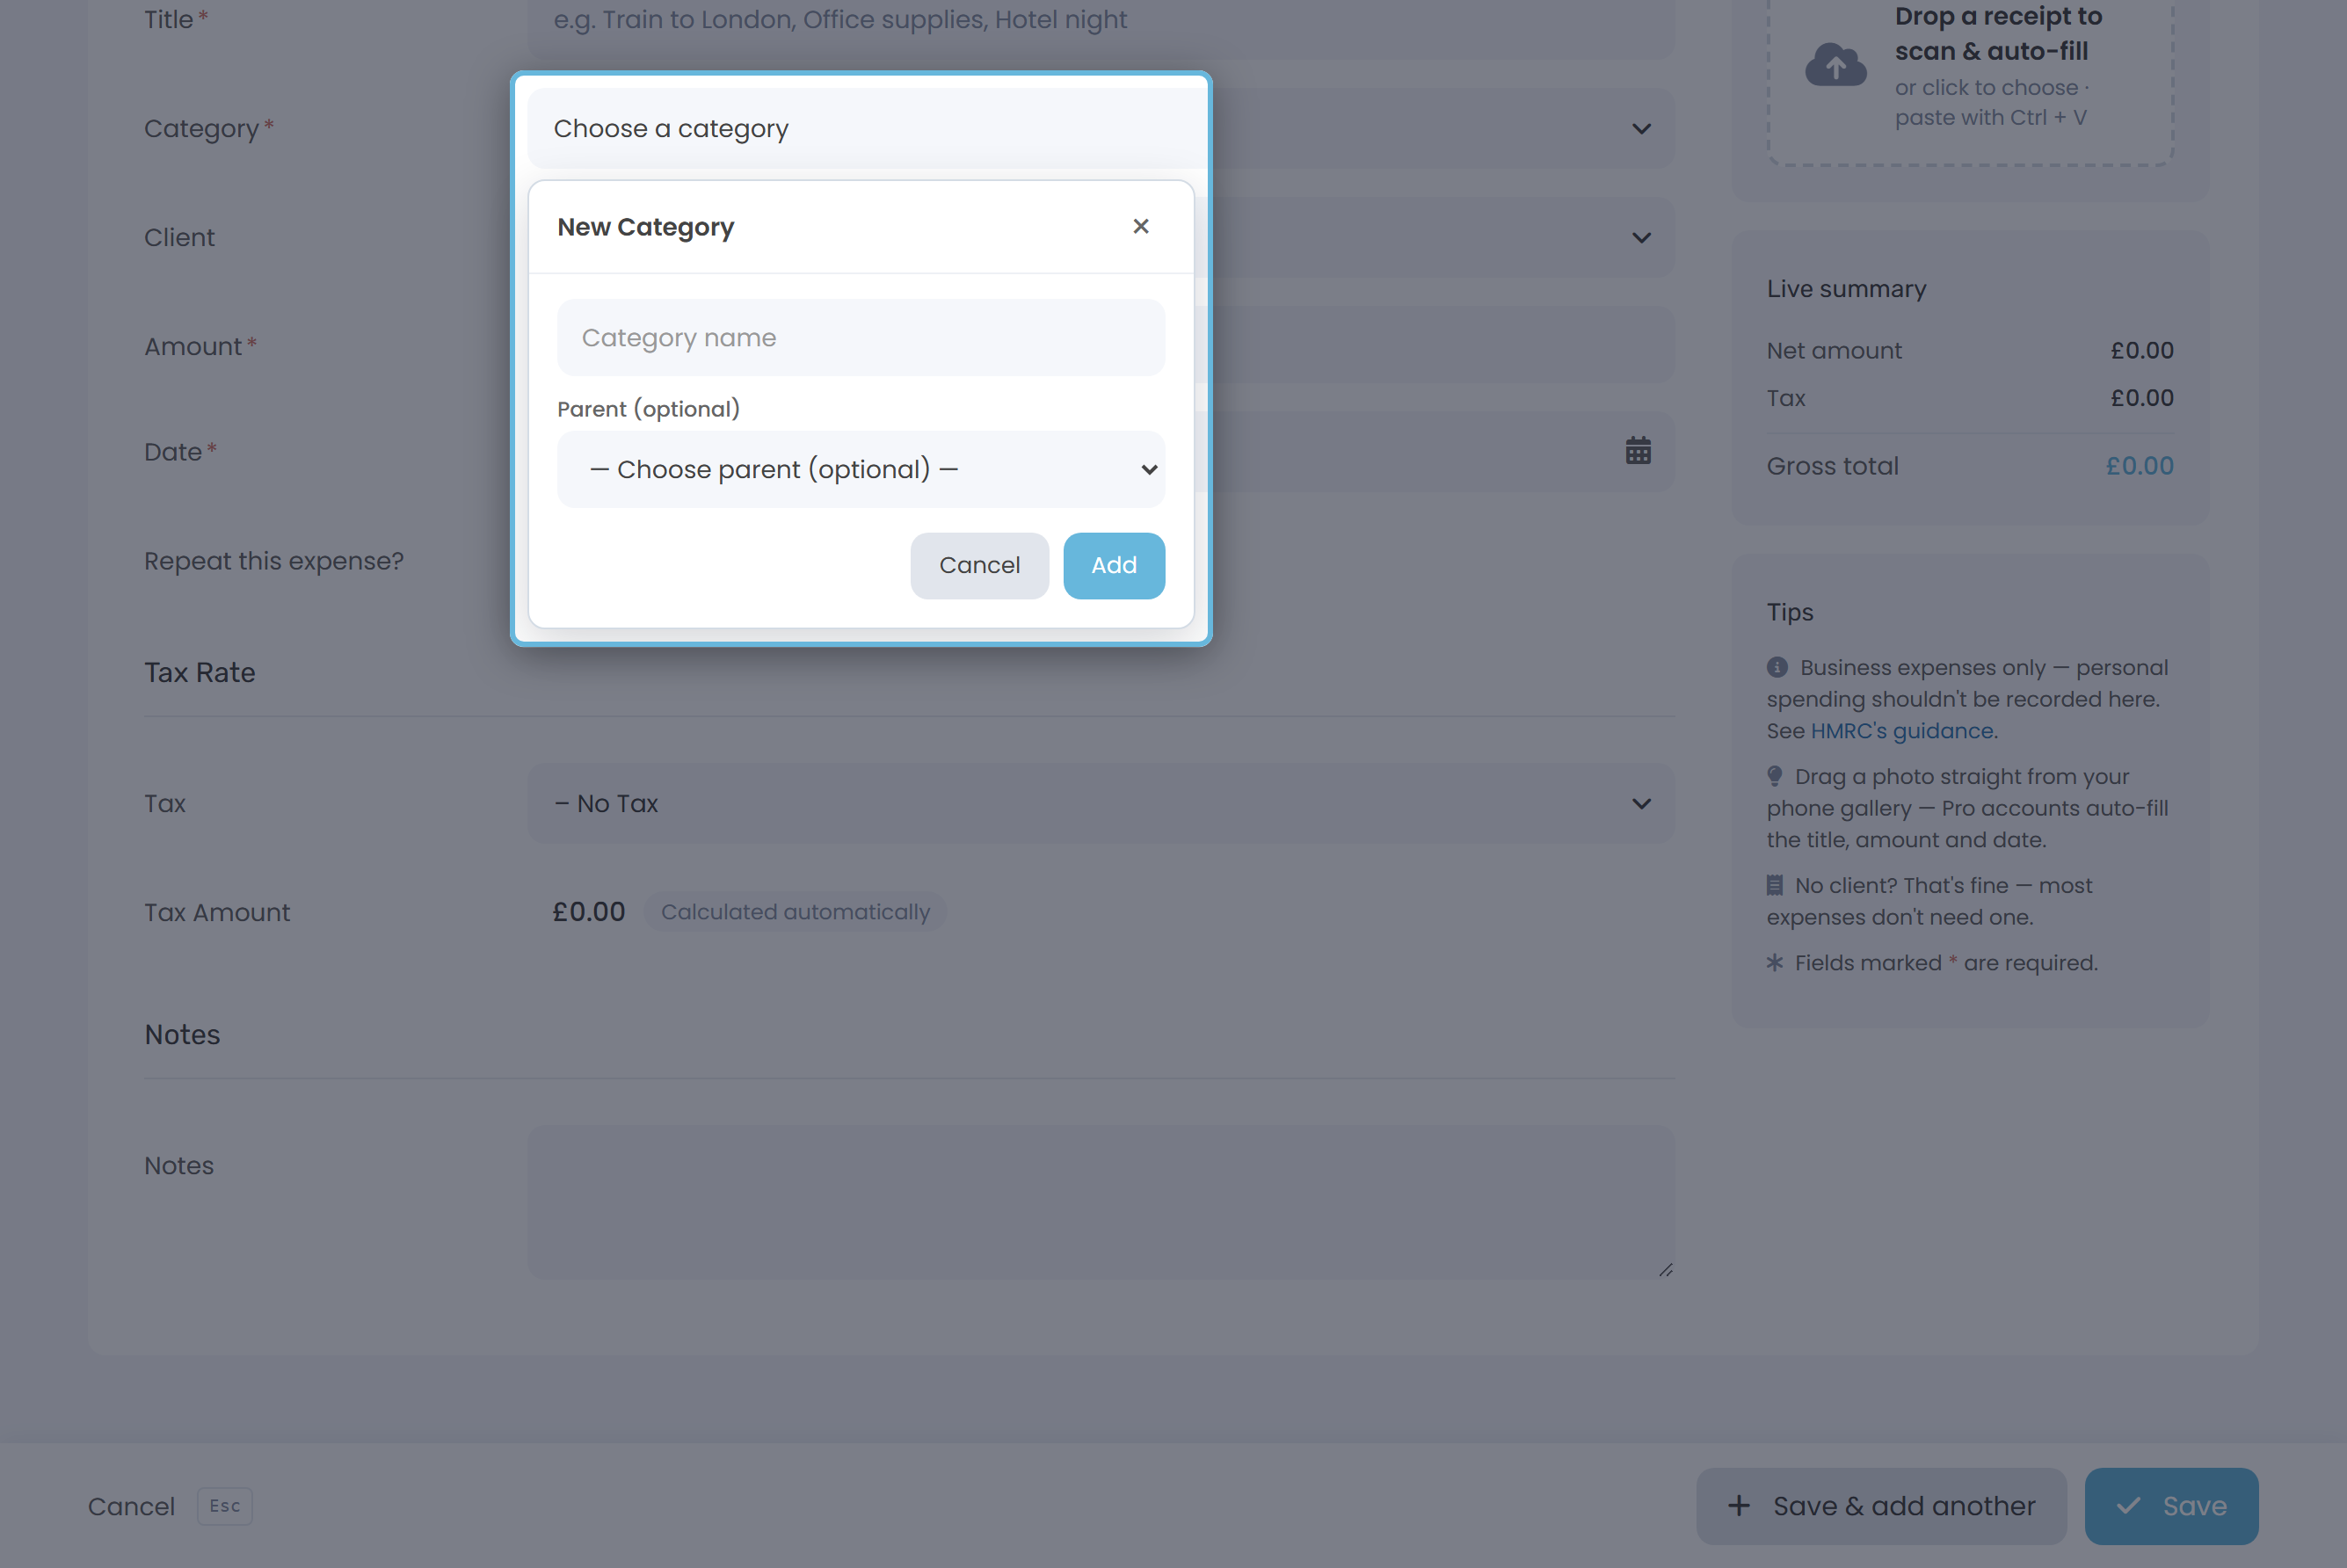
Both routes save into the same list. The full form is the place to go when you're doing a proper tidy-up; the inline popover is for when you realise mid-expense that the category you want doesn't exist yet.
Nesting sub-categories
Set the Parent field on a category to nest it under another (for example, Taxi sits under Travel). Leave Parent blank for a top-level category. Sub-categories show indented under their parent on the list and inherit the parent's icon.
Worked example
You're a freelance designer and most of your software runs as monthly subscriptions. The seeded list has Office Expenses → Software, but you'd like to split out stock photography from the rest because it's a chunky monthly cost worth seeing on its own.
- Open Expense Categories. The default list has Software under Office Expenses, but no separate Subscriptions grouping — so you'll add one.
- Click + Add Expense Category. In the form, type Subscriptions as the Title and leave Parent blank to make it a top-level category. Save.
- Add another: Title Stock photography, Parent Subscriptions. Save.
- Next time you record a Shutterstock or Adobe Stock expense, the Category dropdown shows Subscriptions → Stock photography and your Expenses report breaks it out as its own line.
Editing a category
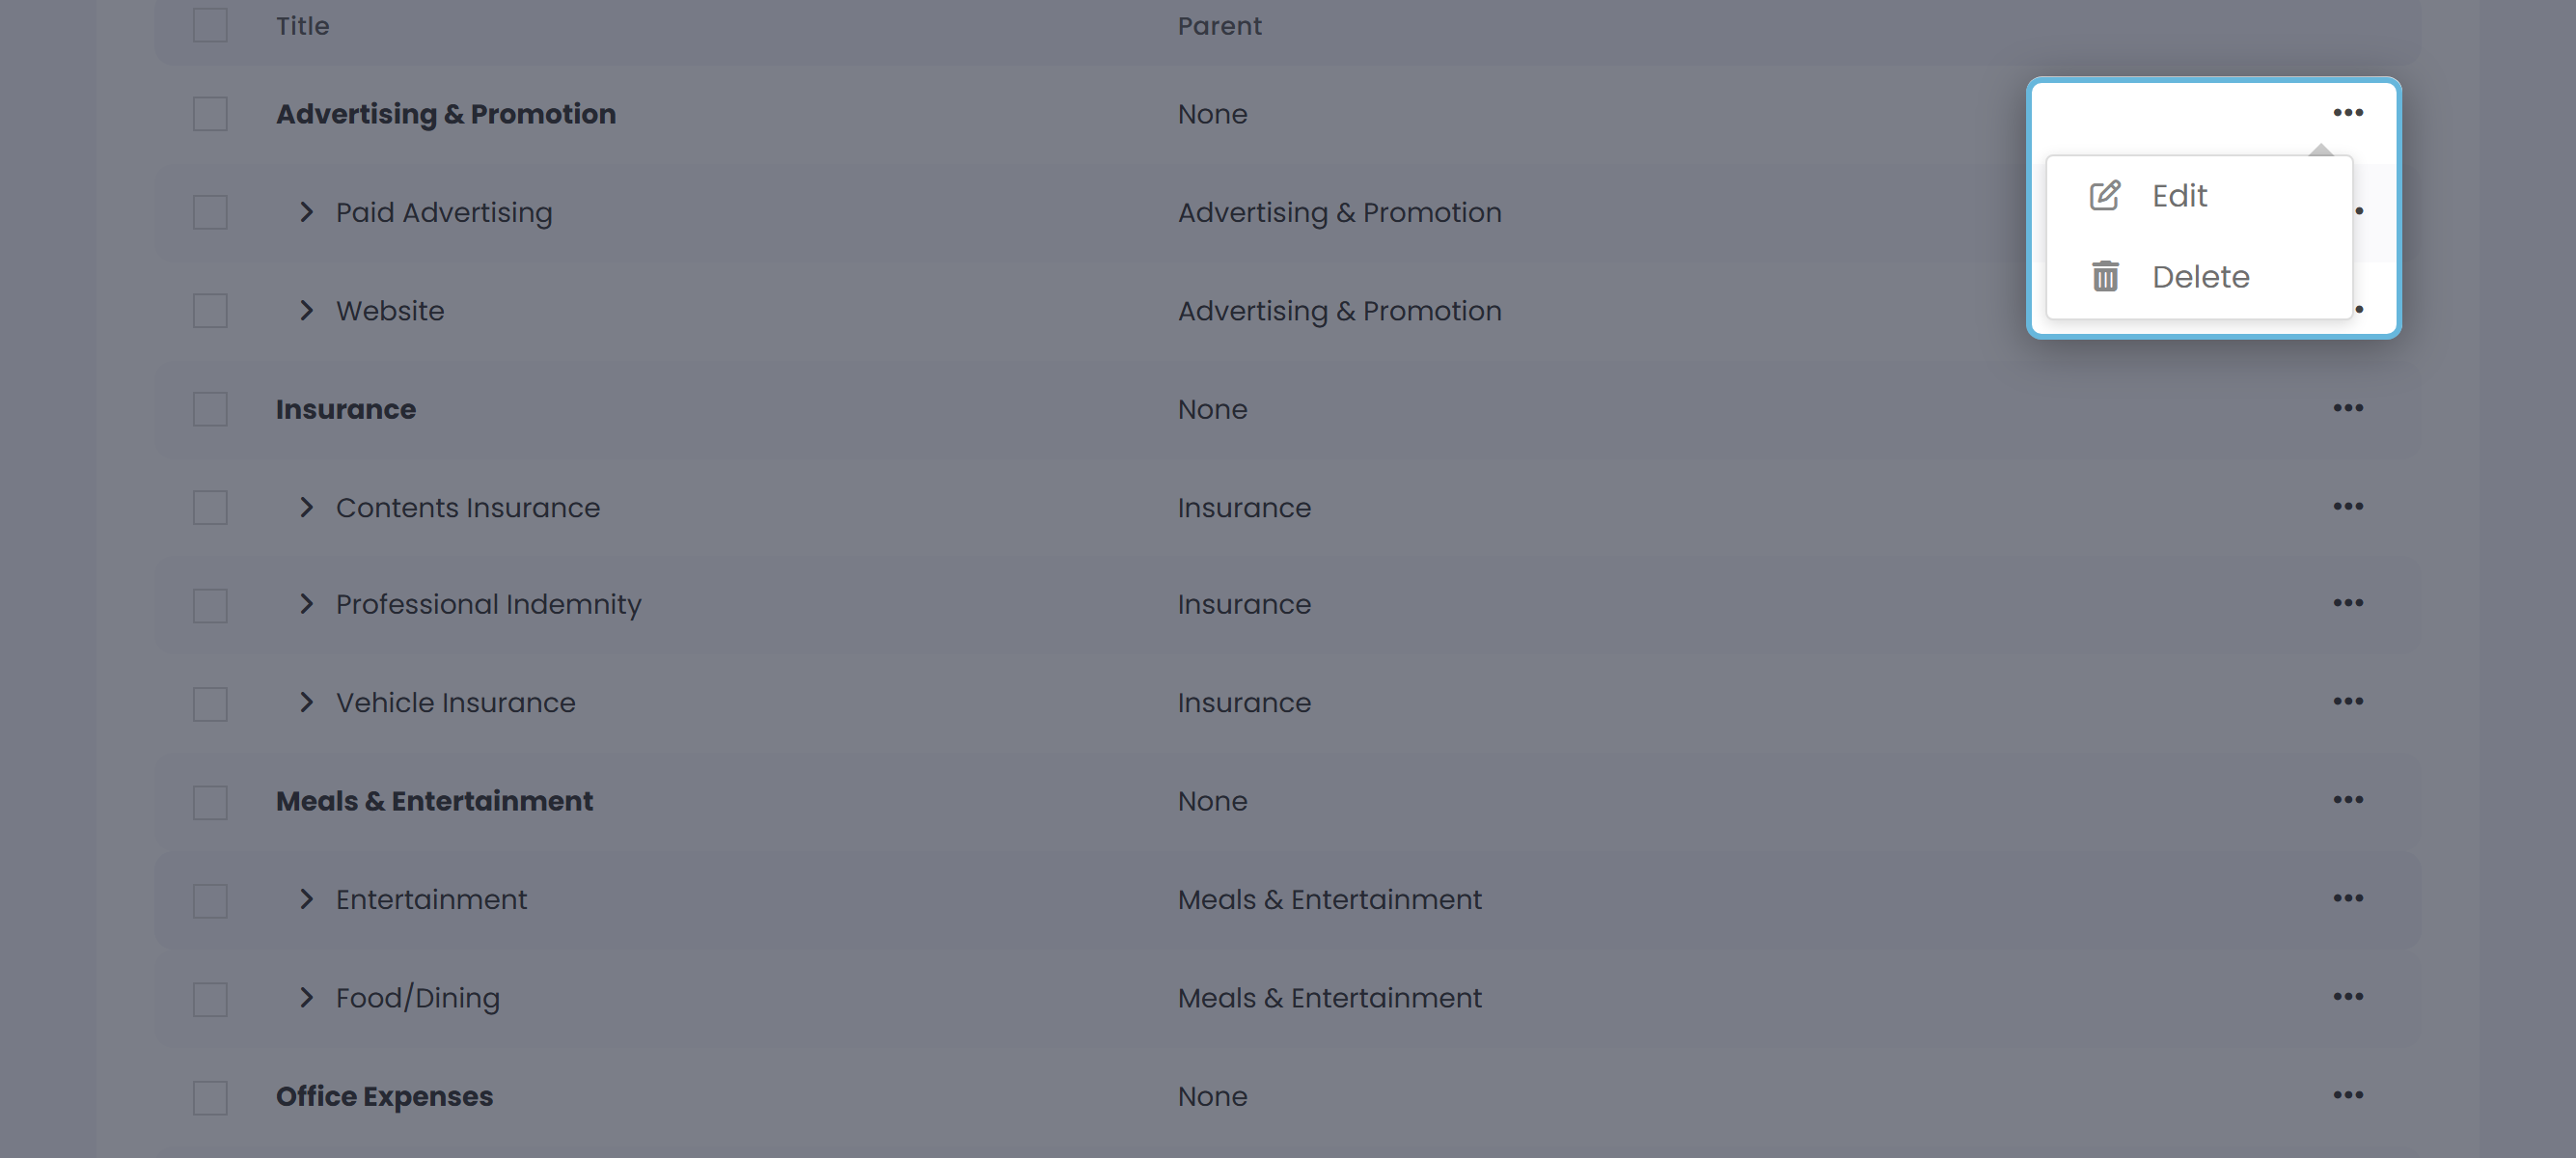
On the Expense Categories list, click a category to open it. The form is the same one used for adding - Title and Parent. Change anything and hit Save. Renaming a category updates it everywhere it's used; your existing expenses keep their link to the (now-renamed) category.
Deleting a category
Tick the box next to a category (or several) on the list, then pick Delete from the bulk-action dropdown above the table and confirm. The category disappears.
Deleting a parent that still has sub-categories leaves those sub-categories as top-level entries on the list - they keep their name but lose the nesting.
Why this matters
Categories aren't decoration. They drive three things you'll care about:
- Reports. The Expenses report and the Profit & Loss group spending by category. A cluttered list makes the breakdown unreadable; a tidy one tells you exactly where the money's going.
- Tax workings. Self Assessment and Corporation Tax look at totals per HMRC expense bucket - Travel, Office Expenses, Professional Fees, and so on. The seeded defaults already line up with these, so most people are best off keeping them and just adding extras.
- Spotting patterns. Sub-categories let you split a chunky group into pieces (like the Stock photography example above) so trends show up before they become problems.